Category Archives: Picture

Mastering blur – a month with the Otus 28mm f/1.4, 55mm f/1.4 and HCam Master TS

f1.4 DSC00526_adj copie

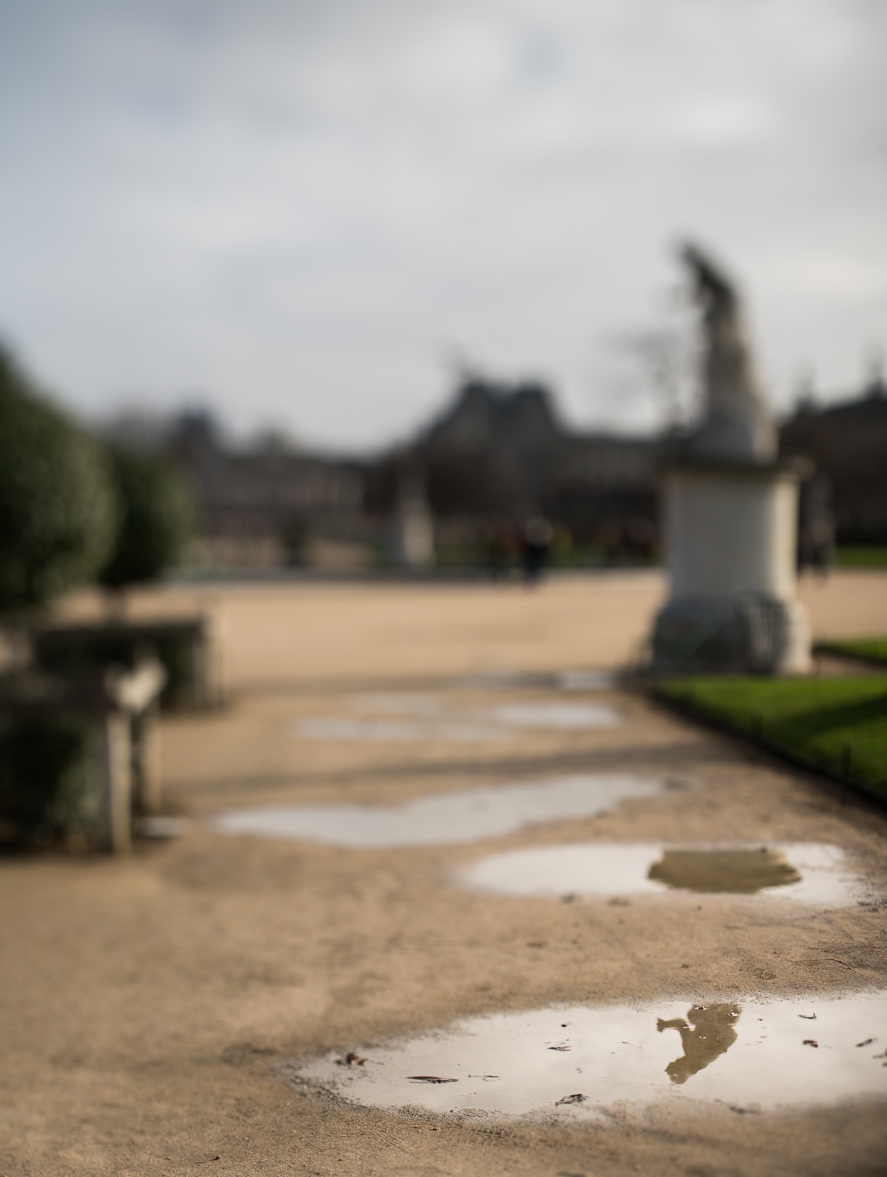
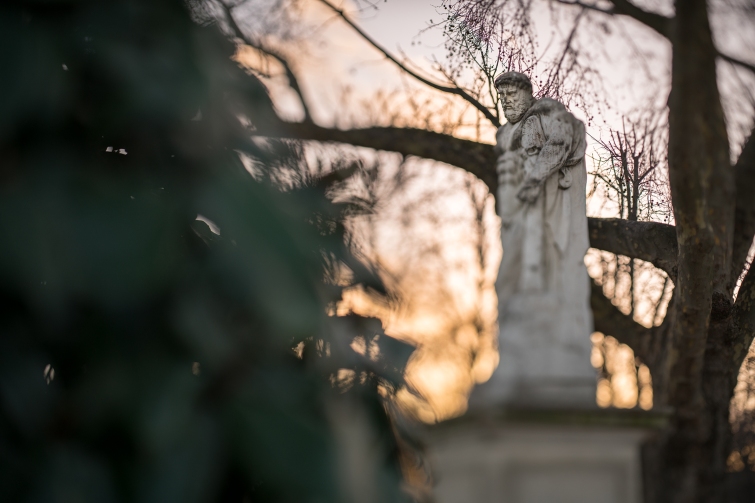
The Tuileries Garden in Paris. Handheld, maximum diagonal tilt, @f1.4.

  • Introduction

About a month ago, I was extremely fortunate to test two of the best and most impressive lenses for full frame cameras, together with a new tilt/shift adapter meant to mount manual lenses on a mirrorless system.

Namely, I got to test the HCam Master Tilt Shift adapter together with a couple lenses from the Otus line from Zeiss: the Nikon mount 55mm f/1.4 and the yet to be released Nikon mount 28mm f/1.4.

The main purpose of these lenses is admittedly for high-resolution stills and video, I like to do things differently. This is why I spent a few weeks in France testing them, and I was especially interested in seeing how well they would perform with long exposures, or when they are shifted, tilted, and of course how sharp they are wide open.

  • Disclaimer:

The purpose of this article is to share some of the images I shot with these lenses and some of my impressions. I am not sponsored nor have been paid by either ZEISS nor HCam for this test. Additionally, it is not meant to be a formal test with charts, or shooting a wall of bricks at different apertures to look at distortion and such. Its purpose is really to see how the adapter and lenses behave in the field, when used for fine art still photography. Unless mentioned otherwise, the images you will find below have been shot on a Sony a7RII in uncompressed RAW mode, imported in Camera RAW and Photoshop for minimal editing (curves, contrast etc). They have only been edited by applying minor white balance, curves, and contrast tweaks, and nothing more except for a B&W conversion with Silver Efex Pro2 for a few of them. Each image was eventually downsized for web browsing and saved as high-res jpgs files. The behind the scenes images were shot with a Sony RX100 IV.

  • The HCam Master TS adapter:

This very solid and precisely machined adapter is German-made. A detail worth mentioning as it sticks to the reputation, and is extremely well built and sturdy. It is meant to mount Canon EF lenses (or other adapters for medium format for that matter) on a Sony E mount mirrorless. Unfortunately, it does not have electronic connections, which means that you can only use fully manual lenses with it (unless you are willing to go through this route). For that reason, I was sent Nikon mount Otus lenses with an extra slim adapter, but I’ll get back to this later.

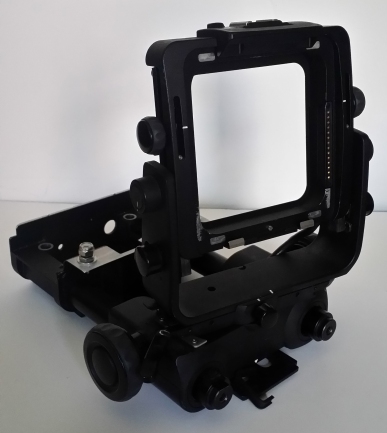
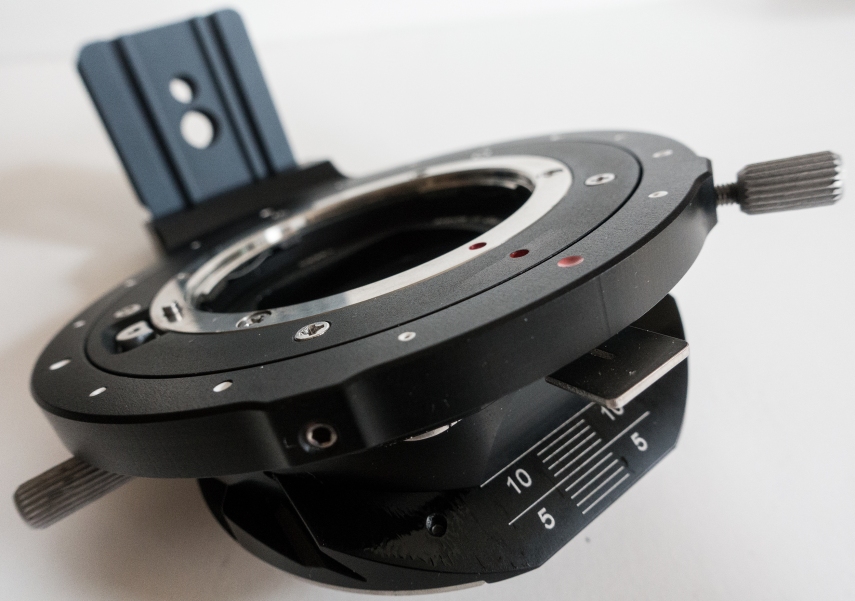
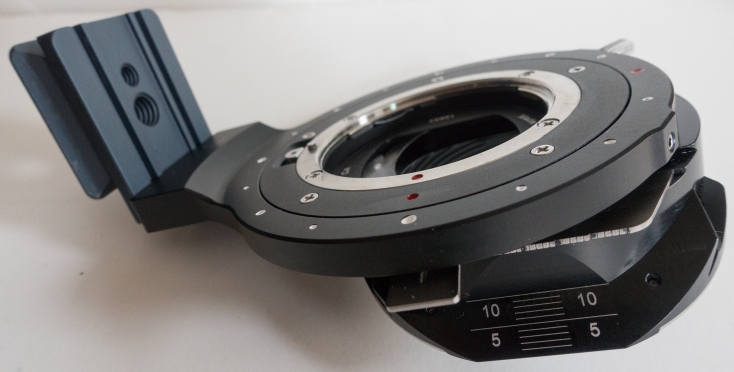
Unlike any other adapter though, the HCam Master TS allows the photographer to tilt and shift the lens with respect to the camera body. It allows for 10° tilt and up to 15mm shift in each direction if the image circle is large enough, which brings and incredible freedom of creation and control for the position of the focal plane and the perspectives, respectively.

Thanks to a very smart and secure system that can be locked in place when needed, it is possible to rotate both the lens and camera independently, and this allows for manipulating the direction in which the lens is shifted and tilted, as well as the orientation of the camera (landscape or portrait). The HCam Master TS system can therefore be used for either architectural, fine art, and/or portrait photography.

The Master TS system is meant to be used on a tripod: the foot can be securely tightened through a couple of screws onto an Arca/Swiss type plate (included in the box), and because both the lens and the camera can be rotated, it is no problem to orient, tilt and shift to the maximum amount the setup. Since the camera/lens setup is mounted on the tripod using the foot, it is good to note that it is the camera that shifts and tilts with respect to the lens, which is opposite and an advantage compared to modern FF T/S lenses. In some occasions during my trip to France however, the use of a tripod was forbidden, which forced me to use the system handheld. In some rare cases I ran into the issue of not being able to tilt all the way because the system would come into contact with the camera. Using the Otus lenses however was nice because I only had to open slightly more the aperture in order to “increase” the amount of blur in camera, so it was not a real issue.

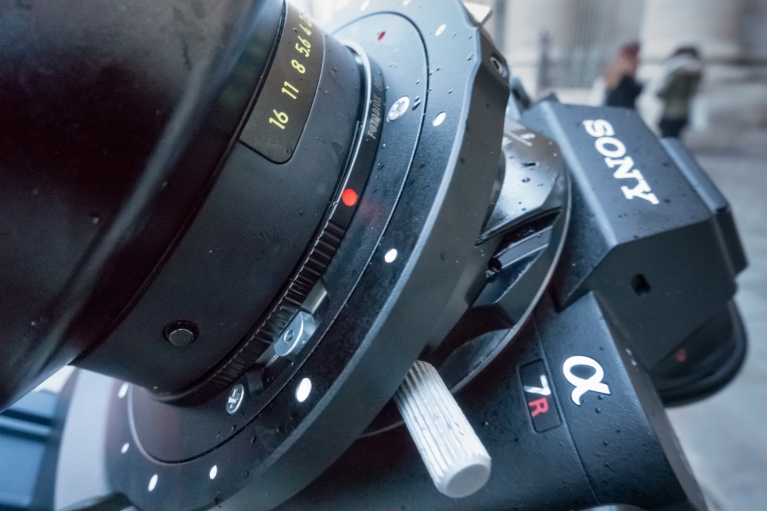
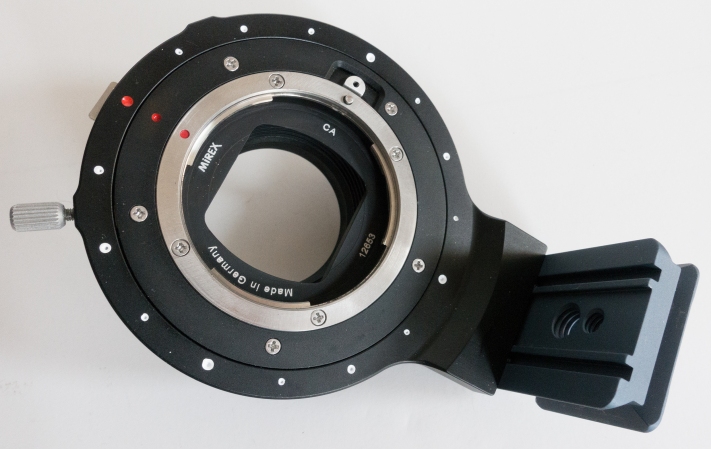
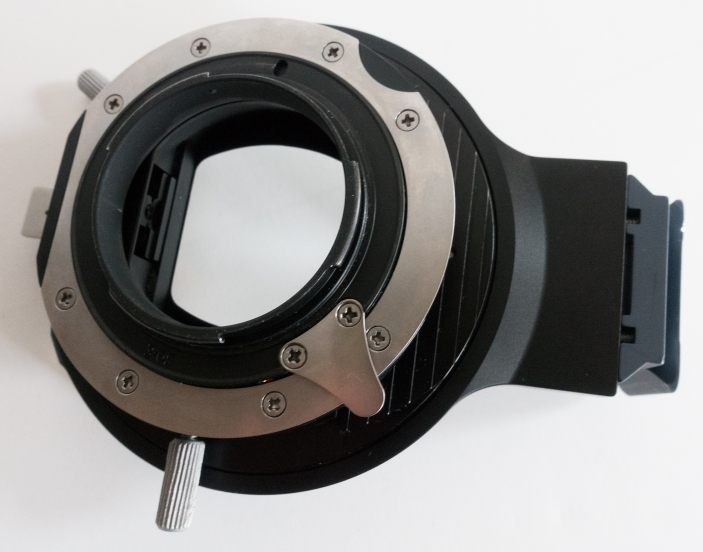
For more details on the adapter, please see the images below:
DSC00225_adj copie

Front view of the adapter mounted on the Arca/Swiss type plate. Canon EF mount (lens) side.
DSC00226_adj copie

Back view of the adapter mounted on the Arca/Swiss type plate. Sony E mount (camera) side.
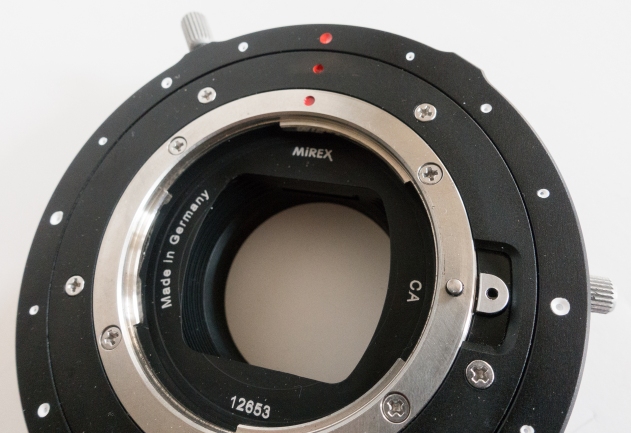
DSC00228_adj copie

Front view of the adapter; Canon EF mount (lens) side, zoomed on the lens release and rotation system (no rotation here).
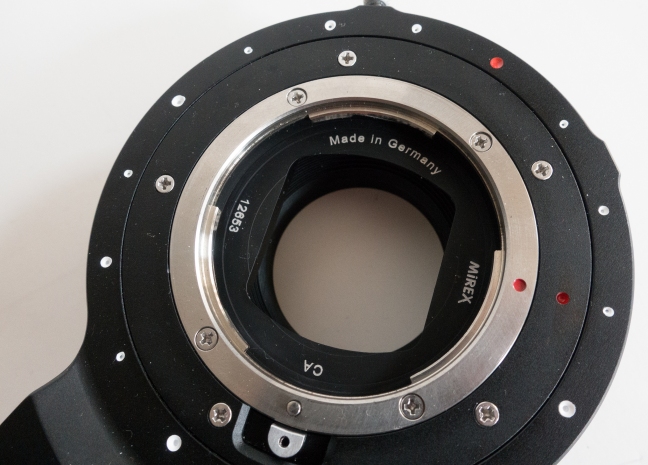
DSC00230_adj copie

Front view of the adapter; Canon EF mount (lens) side with about 20° rotation of the camera mount.
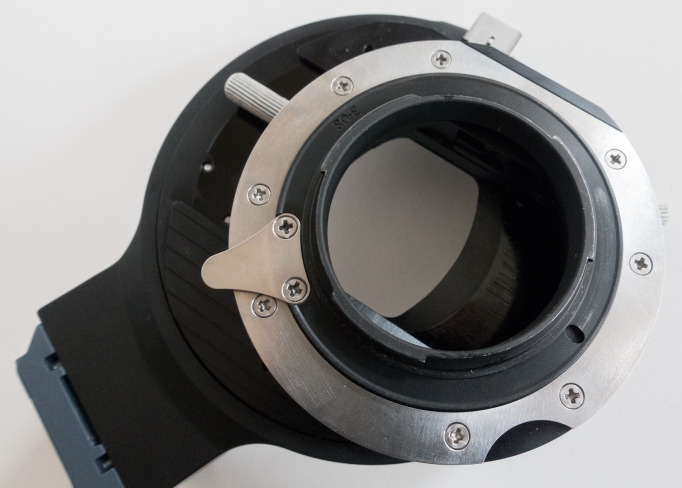
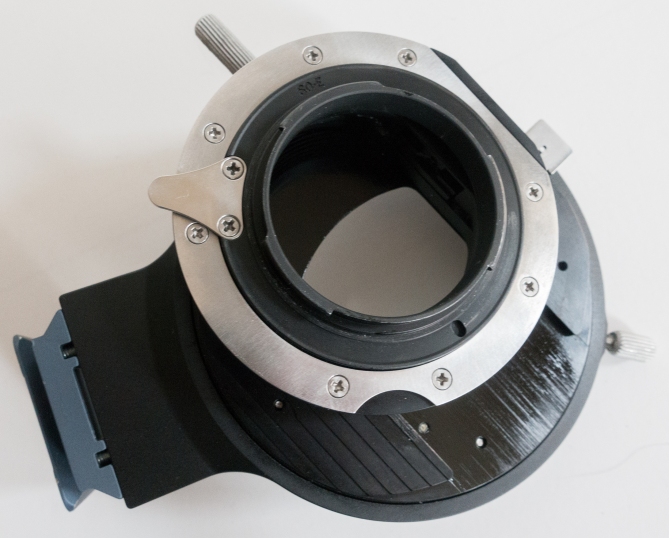
DSC00231_adj copie

DSC00232_adj copie

Back view of the adapter; Sony E mount (camera) side with 15mm shift one way or the other and roughly 20° rotation of the camera mount.
DSC00234_adj copie

Side view of the adapter with with 10° tilt of the camera mount.
DSC00236_adj copie

Side view of the adapter with with 10° tilt, 15mm shift, roughly 10° rotation of the camera mount and 45° rotation of the lens mount.

  • Nikon F to Canon EF mount adapter:

Because the HCam Master TS has no electronic connection and the Canon versions of the Otus lenses require it, I decided to test the Nikon F mount versions. Which means that I needed a slim, sturdy and secure Nikon F to Canon EF mount adapter in order to mount the lenses on the Master TS and keep infinity focus (the flange distance for Nikon being larger than Canon, one such adapter exists).

After reading a few reviews online, I settled for the FotodioX Pro adapter (without focus confirmation chip), which was well rated and allowed me to remove it in the field from one lens and put it on the other in a matter of seconds, with no need for extra tools.

  • Zeiss Otus 55mm f/1.4 & 28mm f/1.4, Nikon mount:

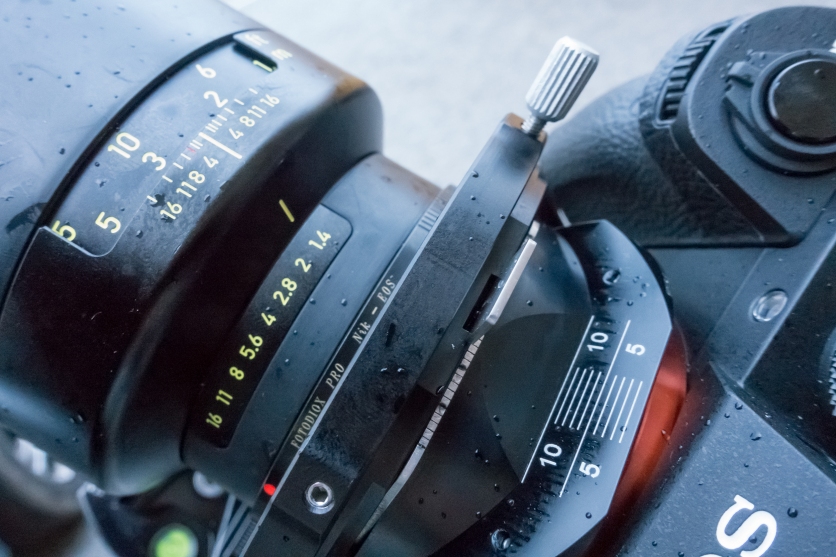
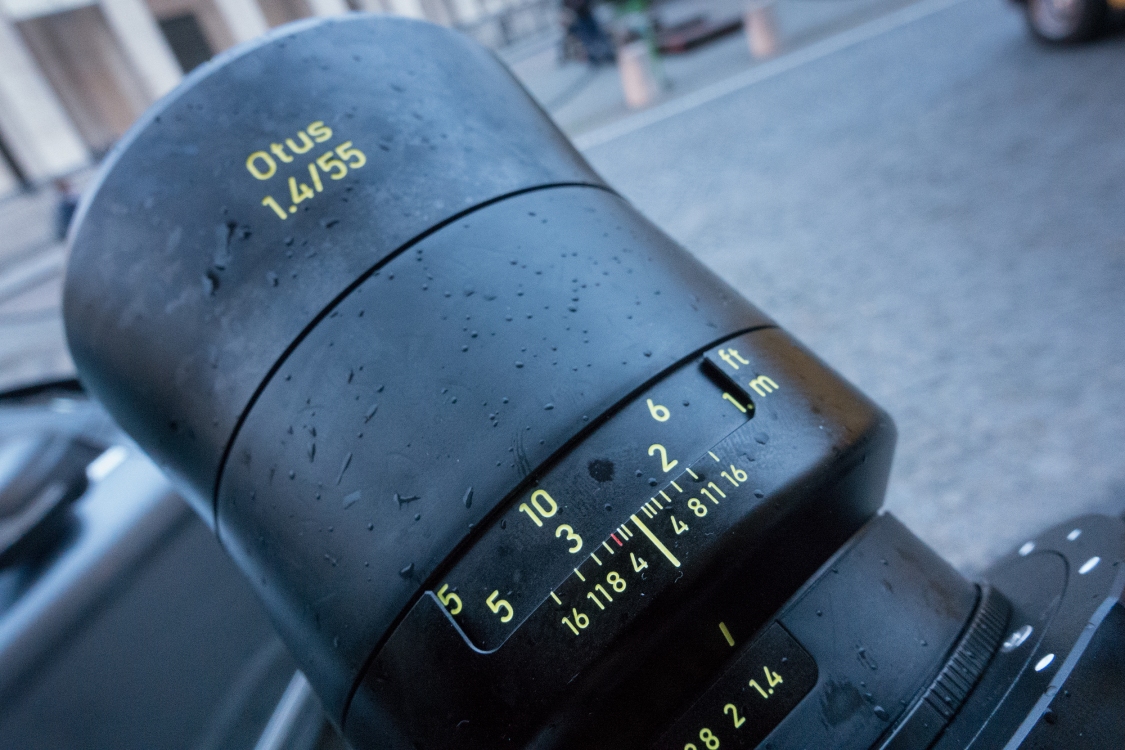
What to say besides these are two exceptional lenses?? They are solid, and they are things of beauty. The front and back lenses are amazing to look at, the focusing ring is smooth, precise and a pleasure to rotate, and the aperture ring (only for the Nikon mount versions) is precise, and lets you choose aperture with a 1/3rd stop precision on small f-stop numbers, and larger steps at smaller apertures (see picture below).
DSC00125_adj copie

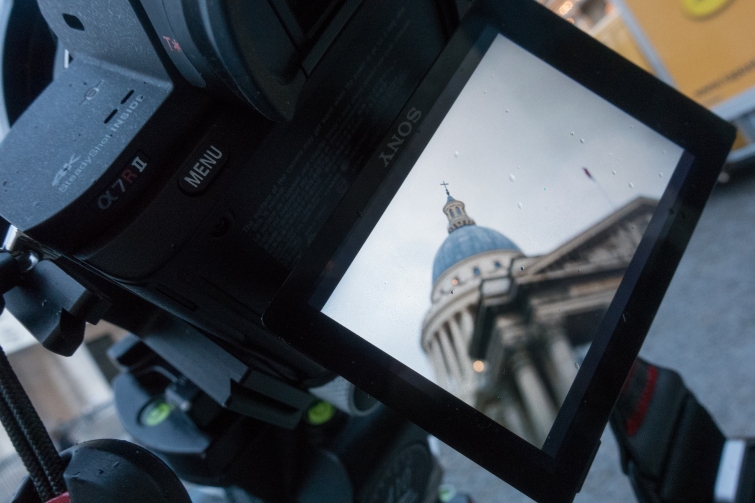
BTS image in Paris at the Pantheon of me shooting with the Sony a7RII, HCam Master TS with 10° tilt and Otus 55mm f/1.4 fully open.

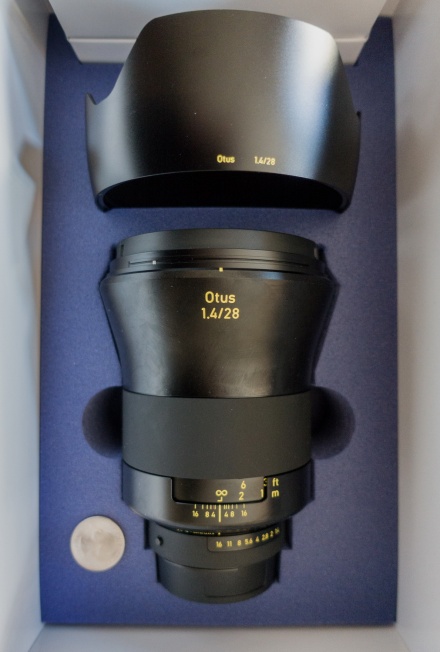
To address the elephant in the room, these lenses are BIG and HEAVY, especially the ZEISS Otus 1.4/28  it is bigger than the (ZEISS Otus 1.4/85). But this is exactly what you want in such fast lenses: a large front element (77mm filter thread for the 55mm, and 95mm diameter for the 28mm!!), huge image circle, especially if like me you want to tilt and shift them.
DSC00062 copie_resize

Phone snapshot of the Otus 28mm f/1.4 when I received it, with a quarter coin as a size reference. Please forgive the low quality and keep in mind this is a pre-production lens, and that the box was therefore not the box it will be shipped in.

  • BTS images:
  1. Otus 55mm f/1.4 @1.4 (in Paris, in front of the Pantheon):
DSC00124_adj copie

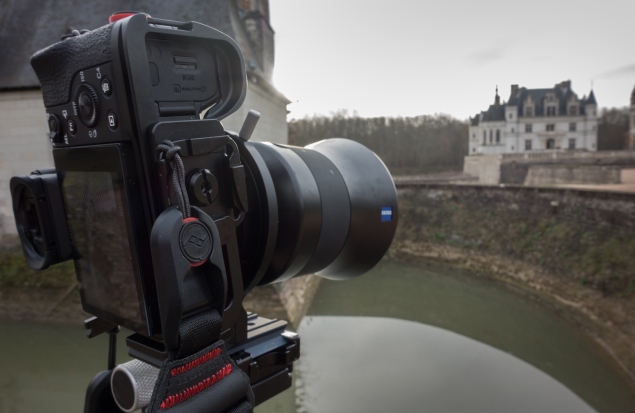
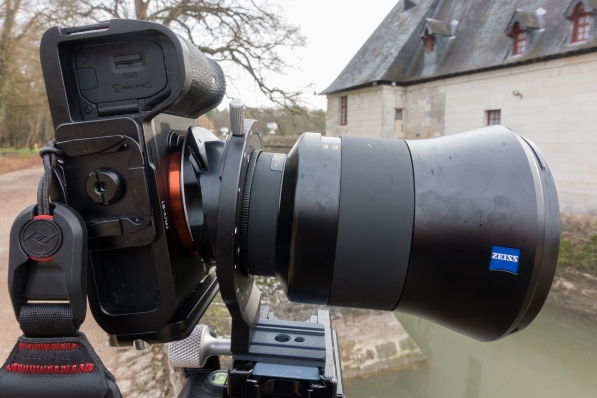
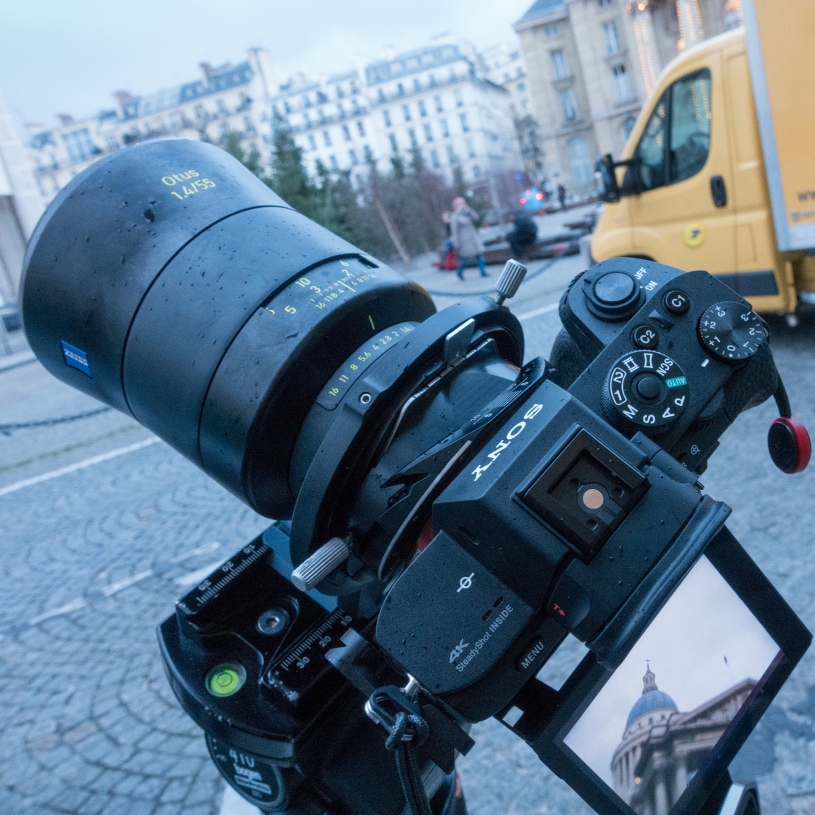
My setup for most of my shooting in France: Sony a7RII, HCam Master TS and either the Otus 28mm or the 55mm (here with the 55mm, tilted at 10°)
DSC00127_adj copie

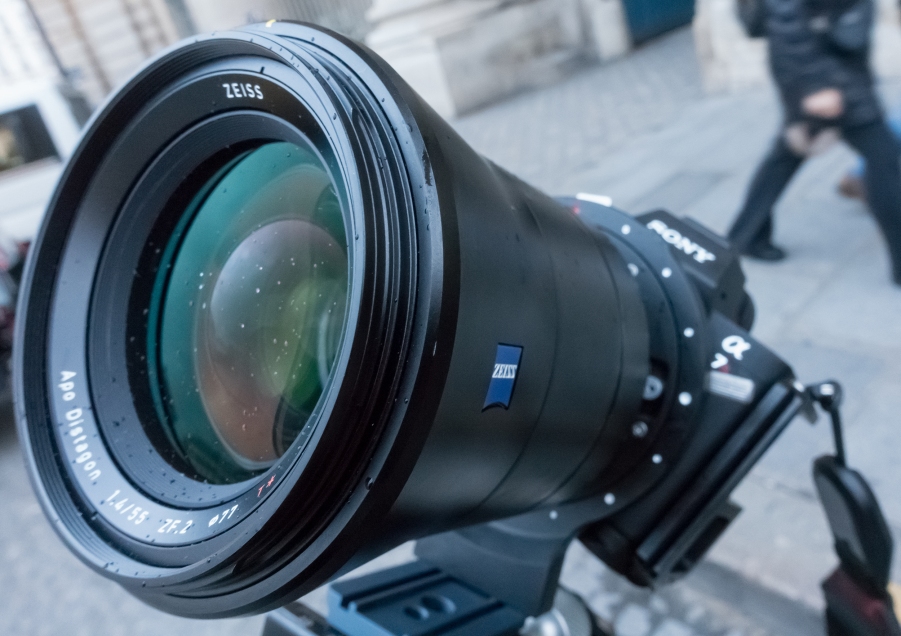
Front element of the 55mm. As you can see, it was rainy, but thanks to such a wide aperture and the added tilt, the rain drops are invisible in the final image (see below).
DSC00128_adj copie

DSC00129_adj copie

DSC00130_adj copie

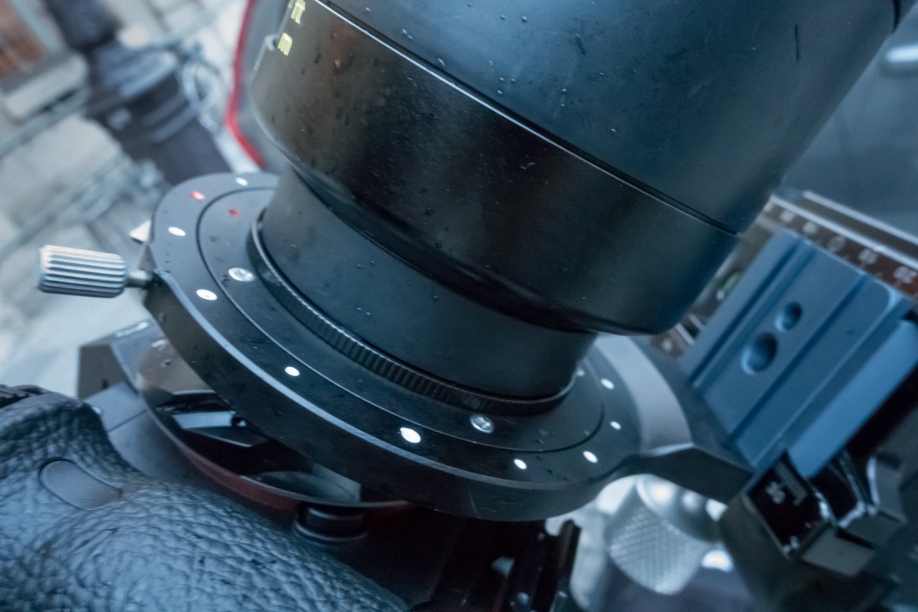
Zoom on the 55mm lens / Nikon F to Canon EF Fotodiox / Master TS adapters. No light leak visible for normal exposures, no problem under slight rain.
DSC00126_adj copie

Live view on the back screen of the Sony a7RII. It’s hard to tell here, but only the top of the cross on the Pantheon is sharp. See image further down for confirmation.
f4 DSC00859_adj copie

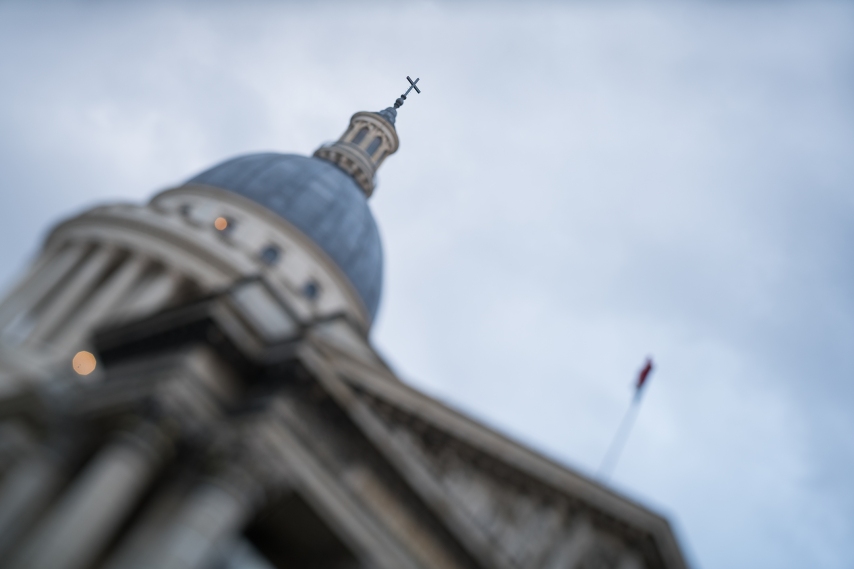
Final image after conversion from uncompressed RAW file shot with the Sony a7RII. Only the cross is focused, the lower parts of the image blurring out very nicely. For those interested, we can see two nice out of focus highlights with 9 sides, as expected from the 9-blade aperture. Please not that with a full 10° tilt, no vignetting can be seen.

   2. Otus 28mm f/1.4 (at one of the most beautiful Loire Valley Chateaus, Chenonceaux) DSC00207_adj copie
DSC00208_adj copie

DSC00205_adj copie

DSC00206_adj copie

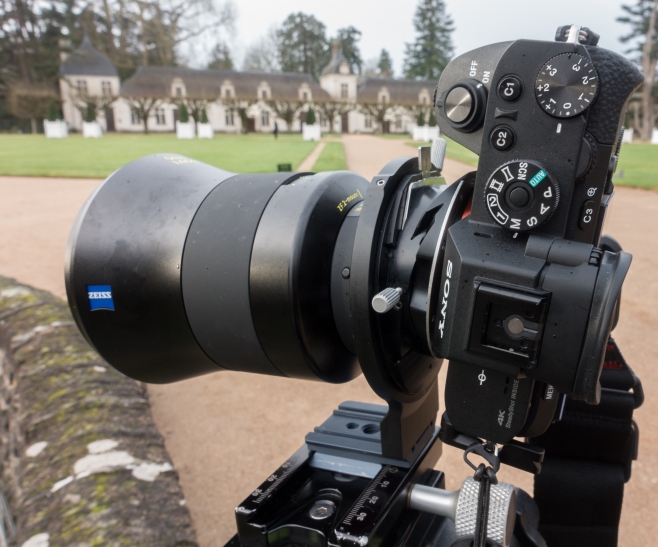
Sony a7RII, HCam Master TS and Otus 28mm (with 10° tilt and camera ~5mm shifted down).
DSC00204_adj copie

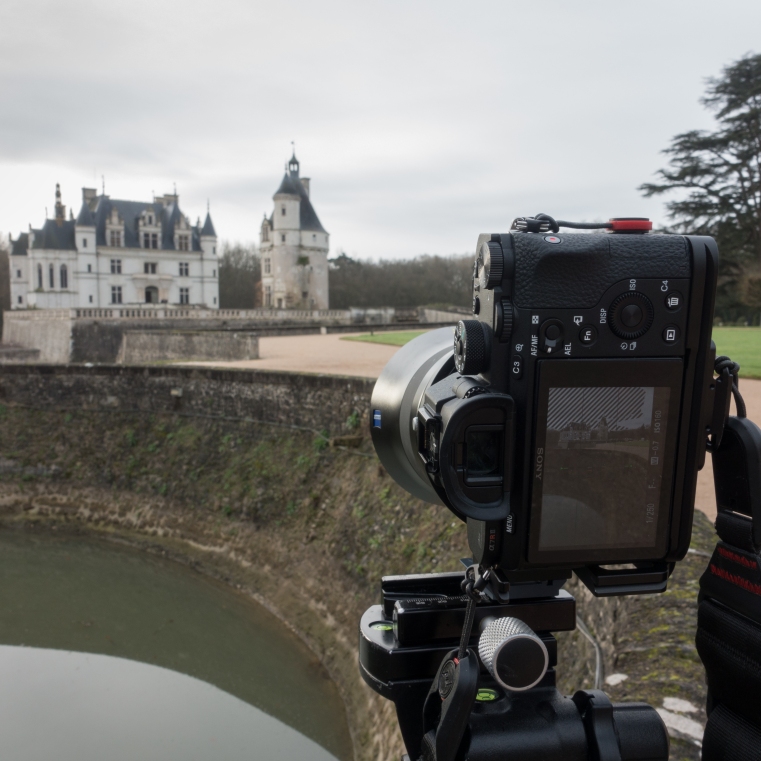
Live view on the back screen of the Sony a7RII. Only the castle is focused.
DSC00209_adj copie

DSC00211_adj copie

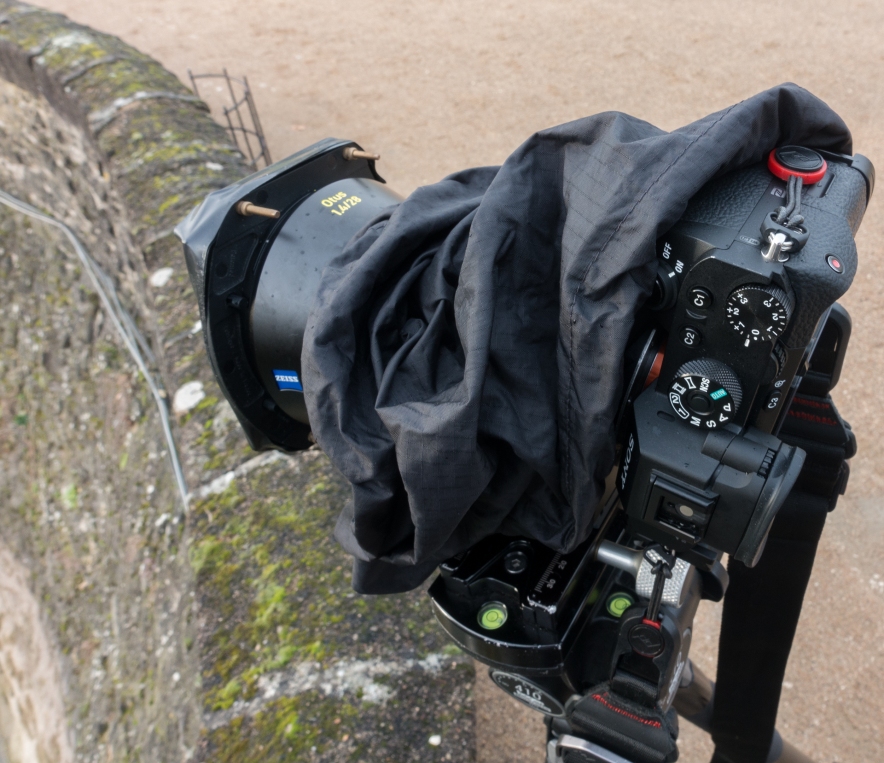
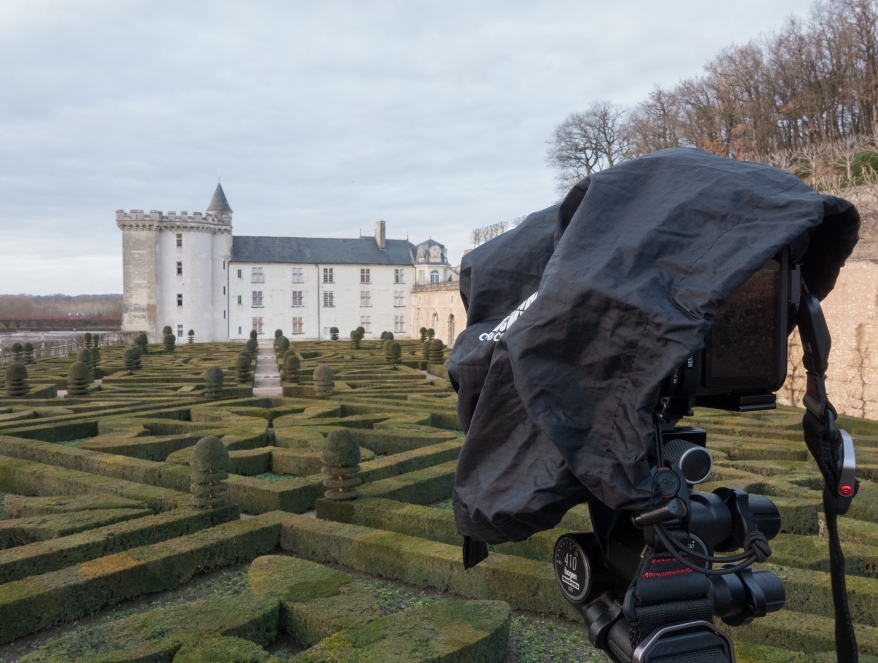
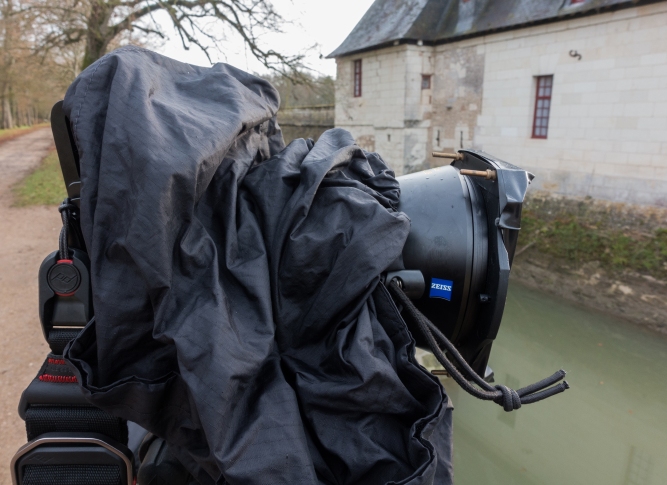
My setup for long exposure: additional Cokin Z-Pro adapter and holder, Formatt Hitech ND16 Firecrest 100x100mm filter and storm jacket to protect from light rain and any possible light leakage coming from the multiple adapters.
f5.6 DSC01509_adj copie

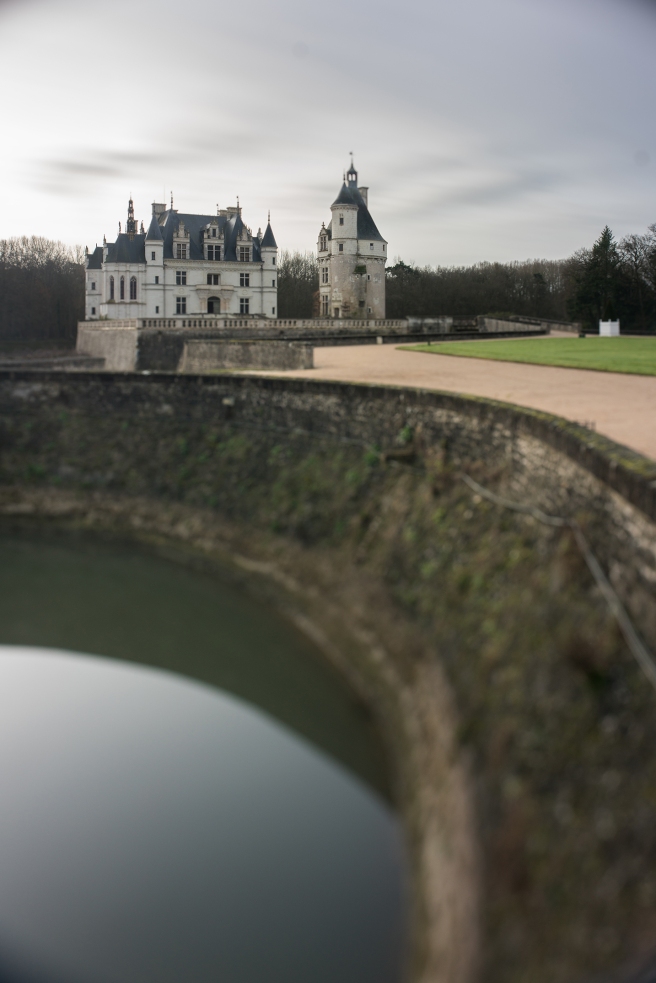
Final image after conversion from uncompressed RAW file shot with the Sony a7RII. No light leakage after ~3 minutes long exposure @f8. The Zeiss Otus 28mm f/1.4 is a great lens for long exposure tilt/shift photography!

  •  More images shot with this system:

1. BTS:
 DSC00200_adj copie

DSC00199_adj copie

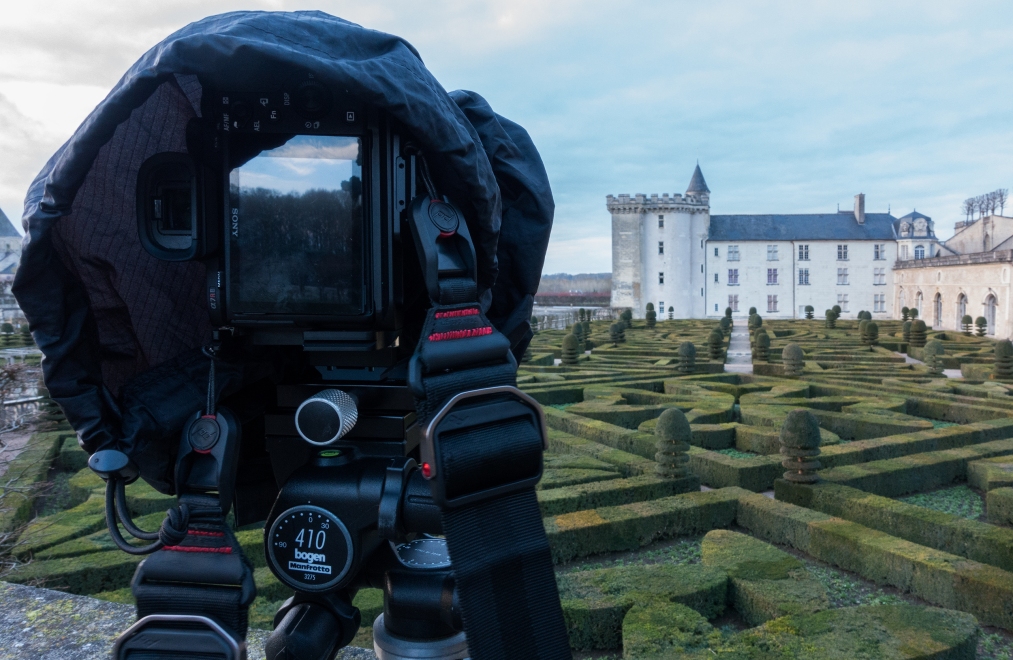
Shooting ~3 minutes long exposure with the Zeiss Otus 55mm f/1.4 @f5.6, together with tilt and shift at Villandry, one of the nicest castles of the Loire Valley, famous internationally for its French-style gardens.

   2. Otus 28mm f/1.4:
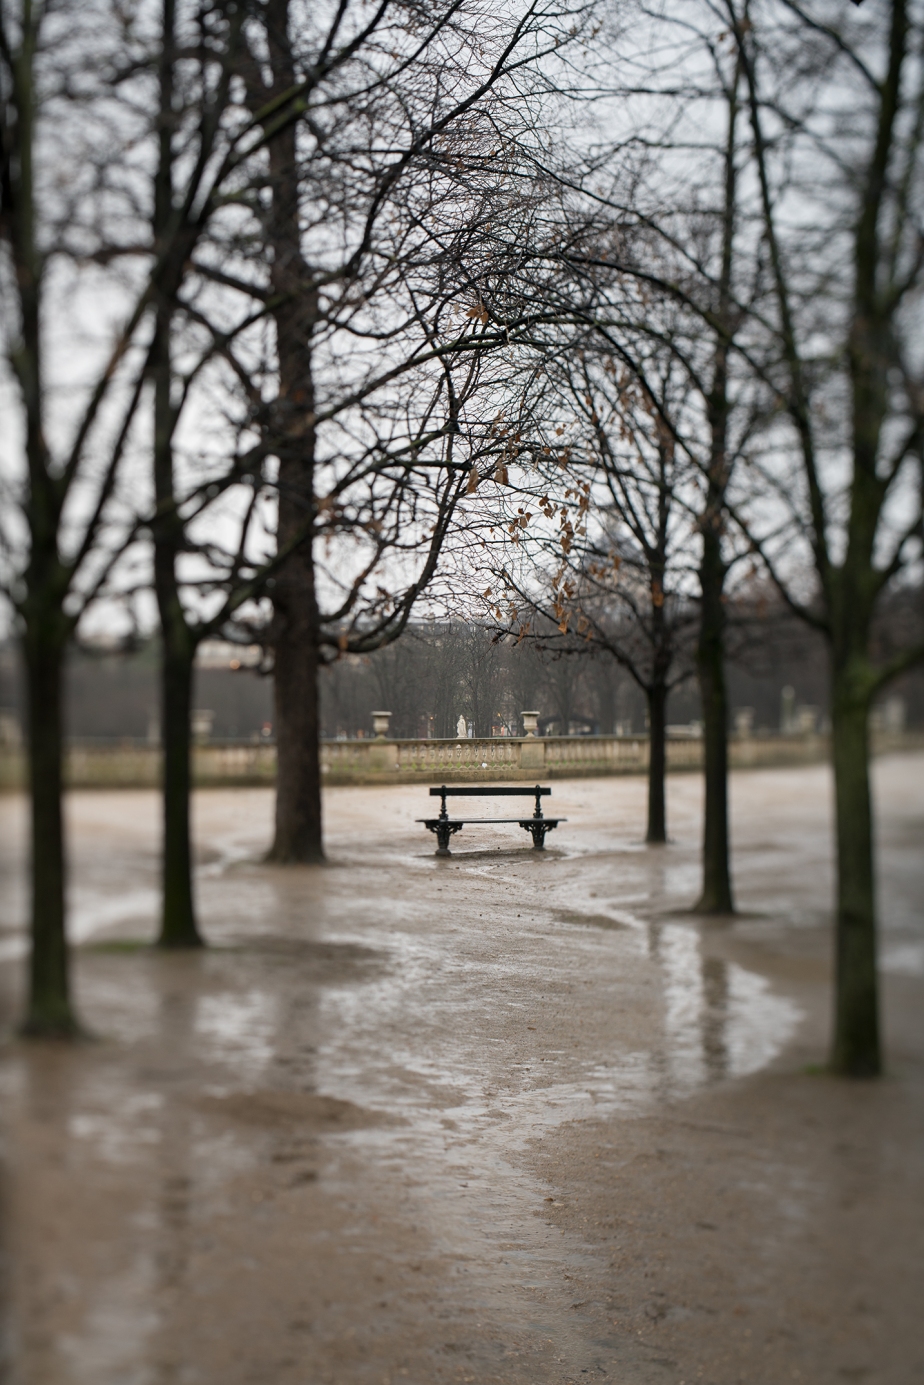
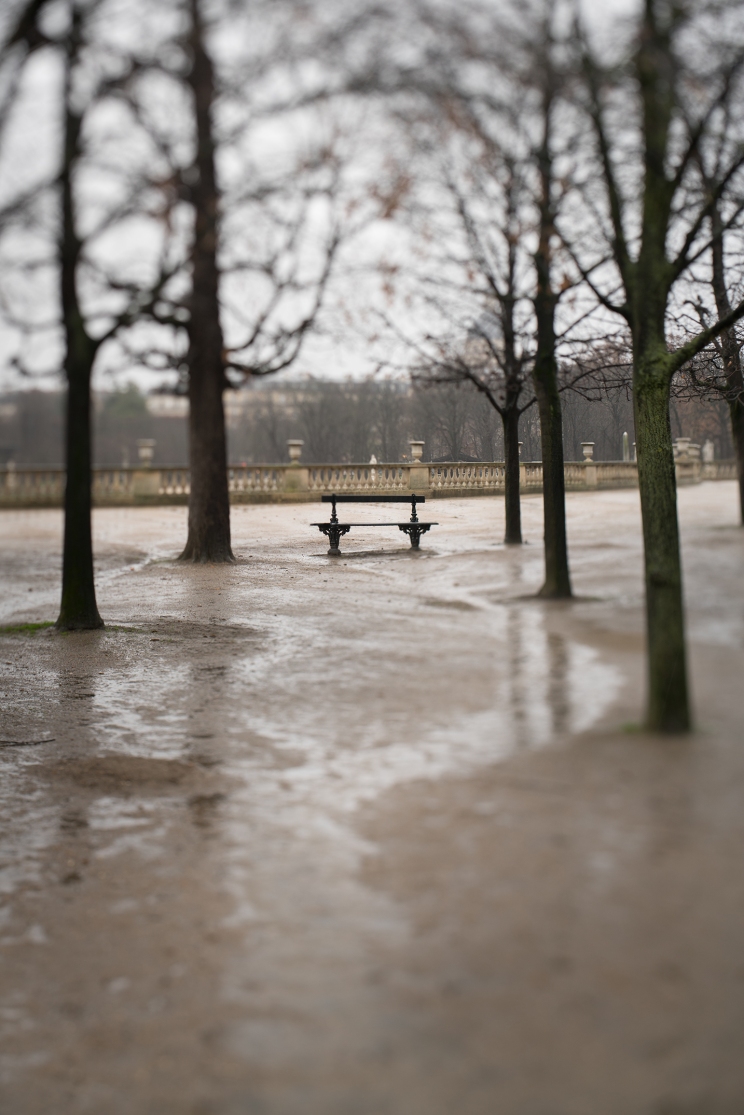
f2.8 DSC00374_adj copie     Shooting in the rain at the Luxembourg Gardens in Paris. Handheld, maximum tilt to the right, @f8.
f8 DSC00380_adj copie

Shooting in the rain at the Luxembourg Gardens in Paris. Handheld, maximum diagonal tilt, @f8.
f2.8 DSC00532_adj copie

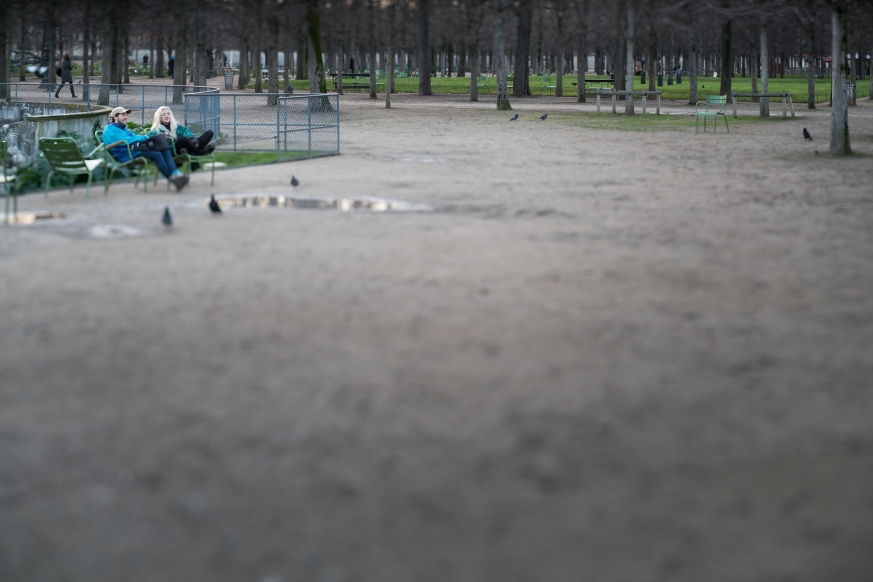
   The Tuileries Garden in Paris. Handheld, maximum tilt down, @f2.8.
f2.8 DSC00532_adj copie crop

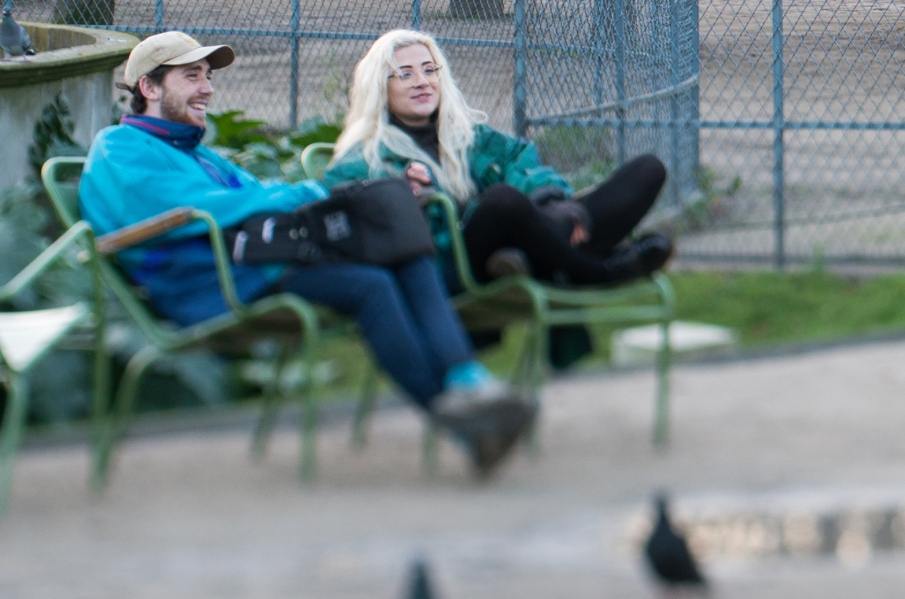
Zoom of the previous image.

f5.6 DSC00441_adj copie

The Tuileries Garden in Paris. Handheld, maximum tilt down, @f5.6.
f5.6 tilt shift DSC01776_adj copie

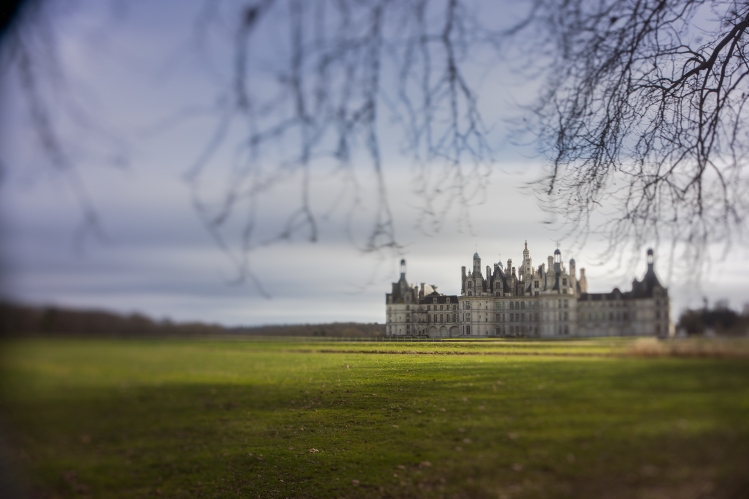
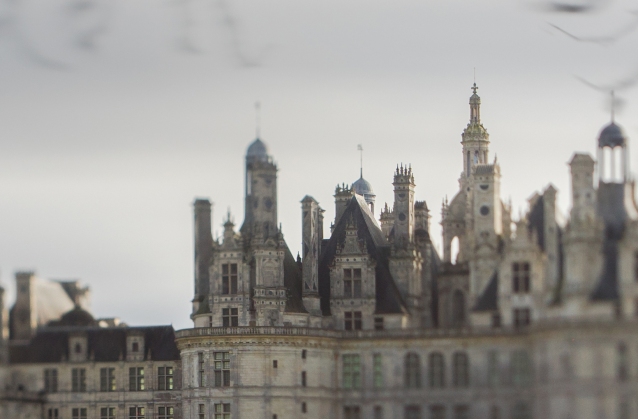
Chambord. On a tripod, maximum diagonal tilt @f5.6 and ~5mm vertical shift (camera lower than lens). Slight vignetting in the upper left corner.
f5.6 tilt shift DSC01776_adj copie crop

Zoom of the previous image. Maximum sharpness is clearly located on top of the highest tower.
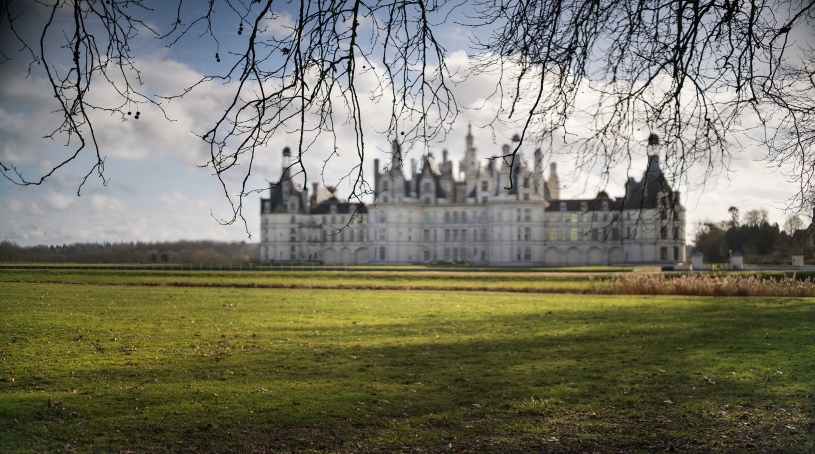
f2.8 aperture shift DSC01746 copie_small

Chambord. On a tripod, 6 images stitched (3 horizontally, over an approximate 10mm distance total; 2 vertically shifted positions accounting for about 5mm), no tilt @f2.8. Slight vignetting in the upper left and right corners.
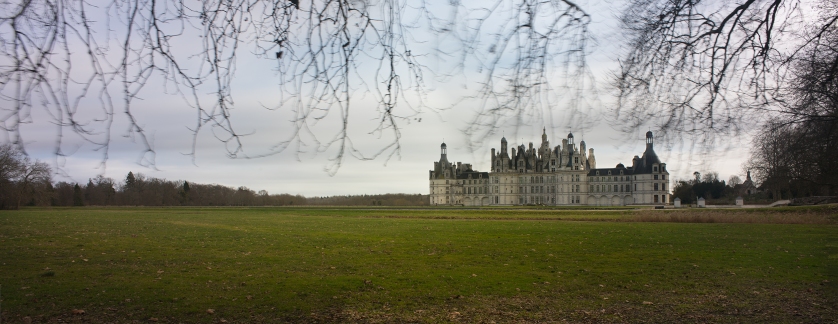
f8 LE DSC01778 copie

Chambord. On a tripod, 6 images stitched (3 horizontally, over an approximate 10mm distance total; 2 vertically shifted positions accounting for about 5mm), no tilt @f8. Each image is a ~5 minutes long exposure. No more vignetting is visible.
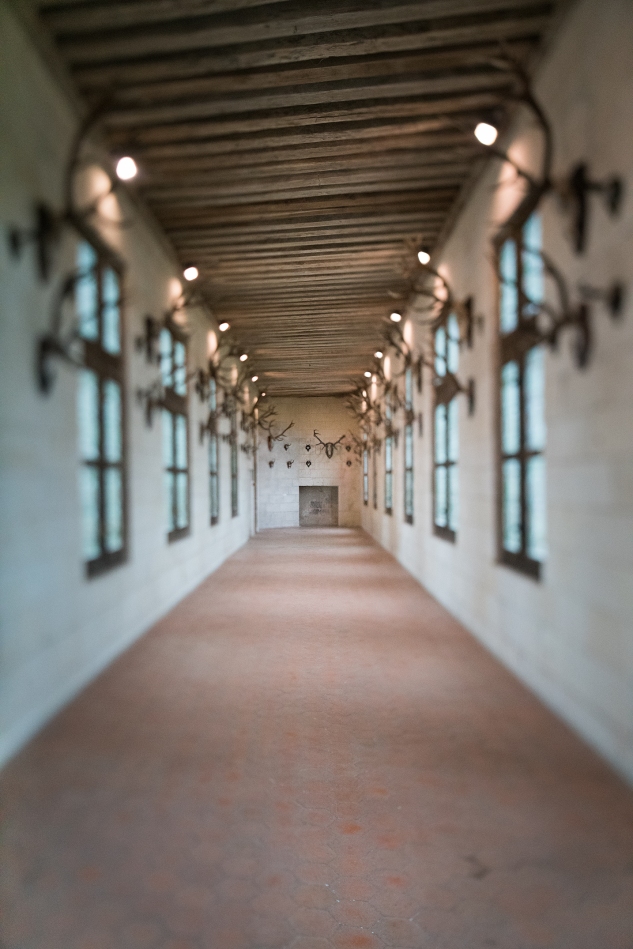
f4 DSC01044_adj_adj copie

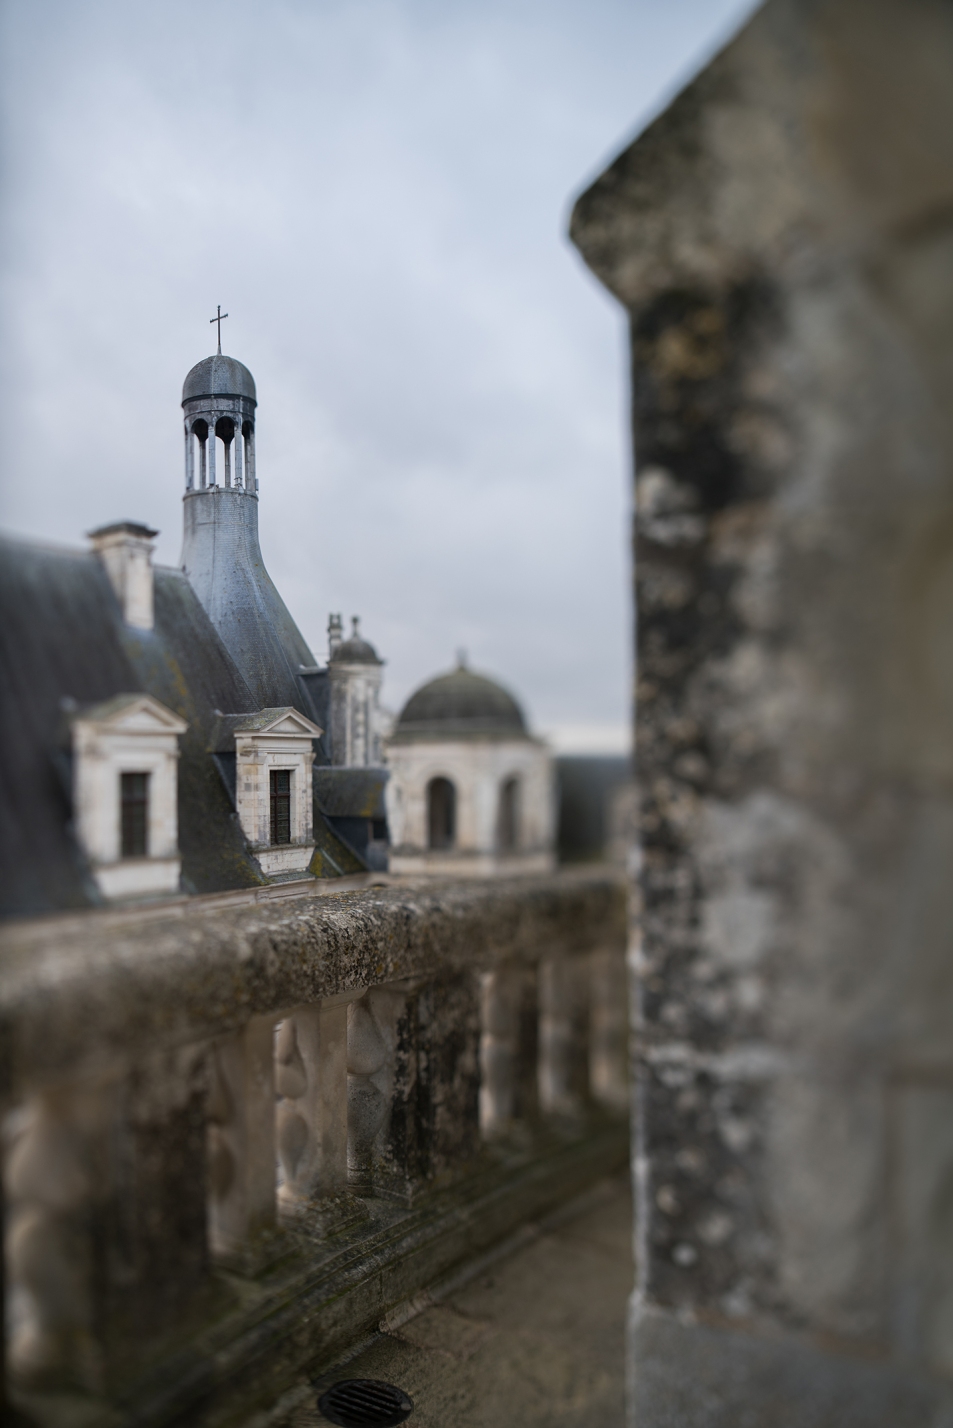
Chambord. Handheld, maximum tilt to the right @f4.
f4 DSC01211_adj copie color copie

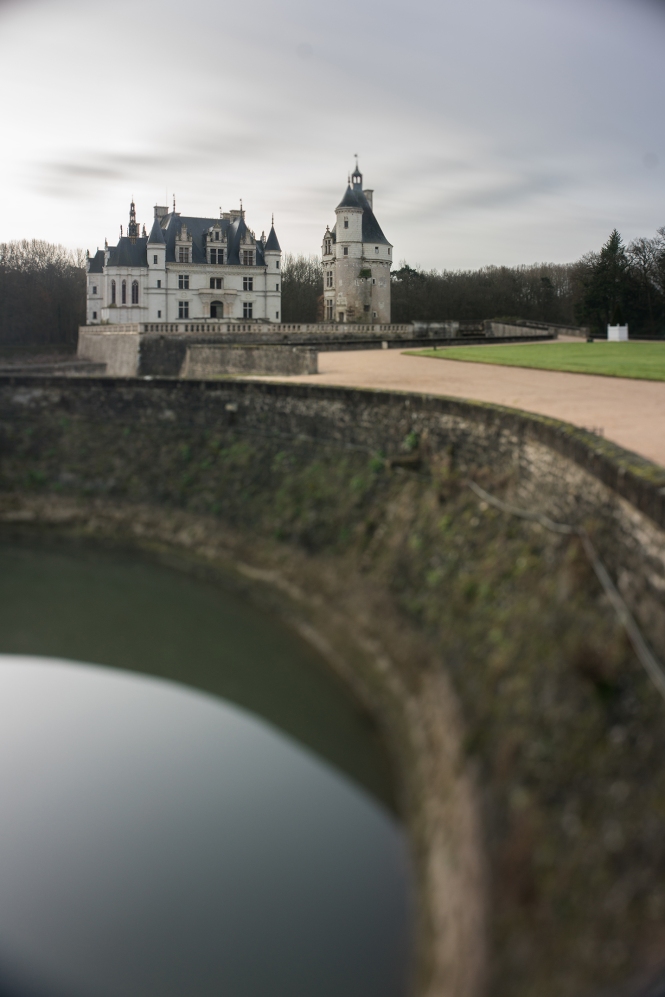
Chambord. Handheld, maximum tilt to the right @f4.
f5.6 DSC01509_adj copie

Chenonceau. On a tripod, maximum tilt and ~5mm shift down (for both) of the camera @f5.6.

A few extra images shot in Boston, MA:
DSC00054 copie

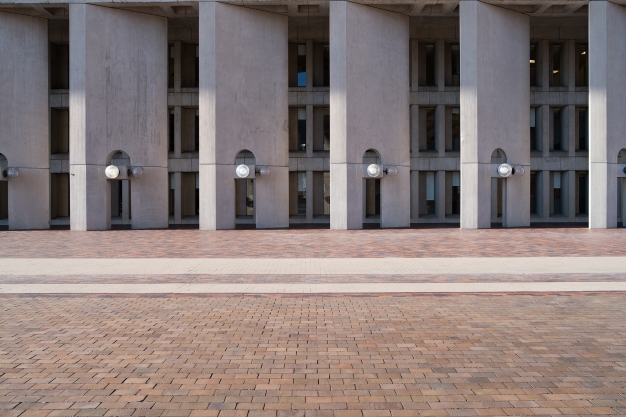
On a tripod, no tilt nor shift @f8.

DSC00054 copie zoom1

Zoom of the previous image, top left corner.
DSC00054 copie zoom2

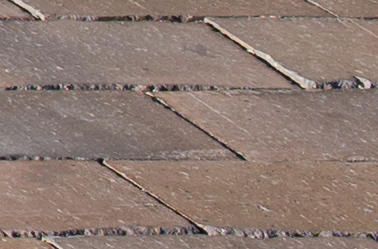
Zoom of the previous image, bottom right corner.
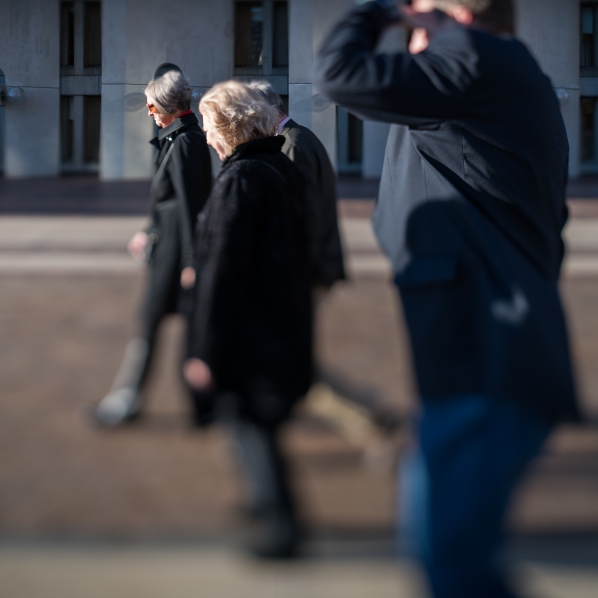
DSC00108_adj copie

On a tripod, maximum tilt down, no shift @f2.8.
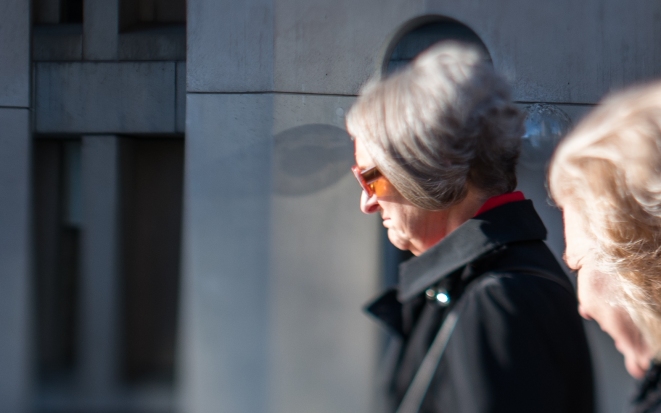
DSC00108_adj copie zoom

  Zoom of the previous image.

DSC00111 copie

On a tripod, maximum tilt down, no shift @f1.4.
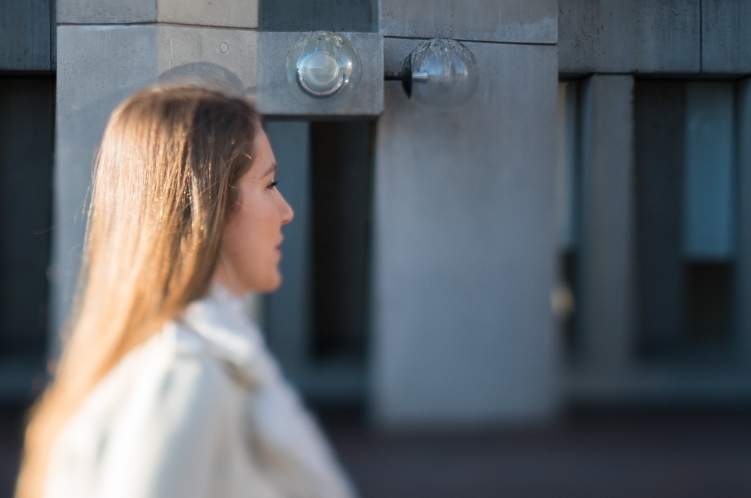
DSC00111 copie zoom

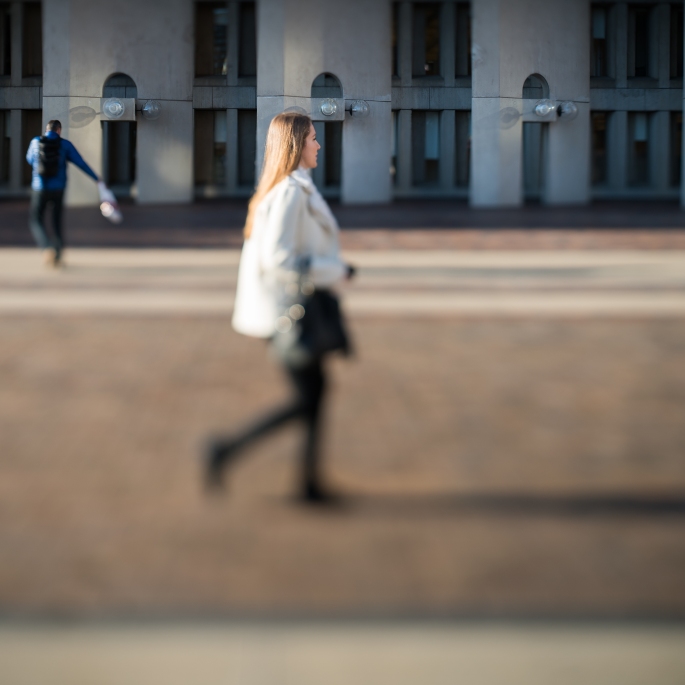
 Zoom of the previous image. Please note that at f1.4, only the eyes are sharp, the rest getting blurred as you move away from the focal plane.
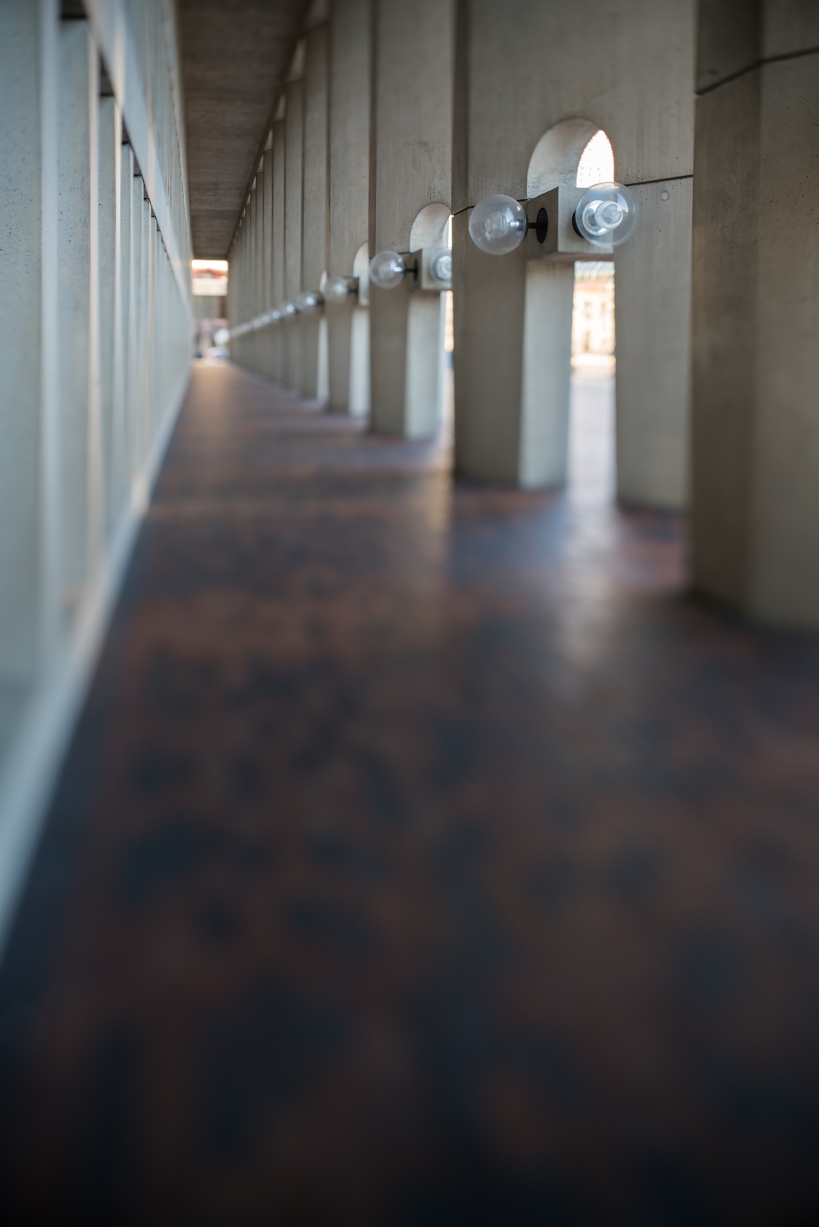
DSC00160_adj copie

On a tripod, maximum tilt down, no shift @f4.
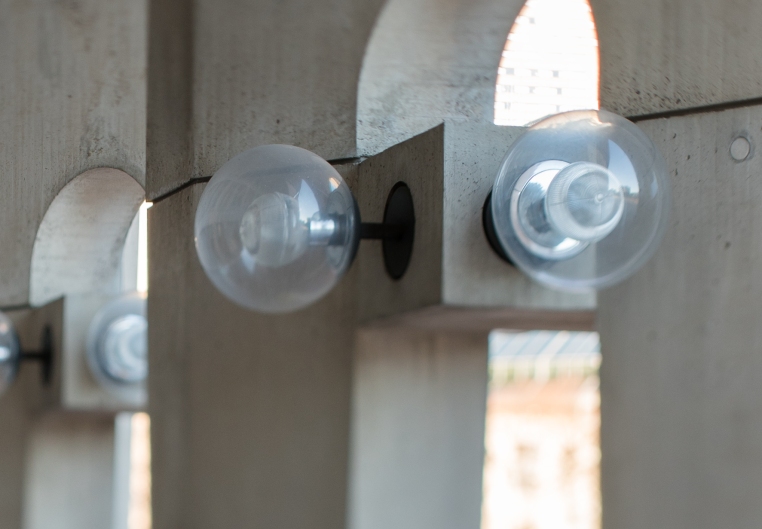
DSC00160_adj copie zoom

 Zoom of the previous image.

2. Otus 55mm f/1.4:
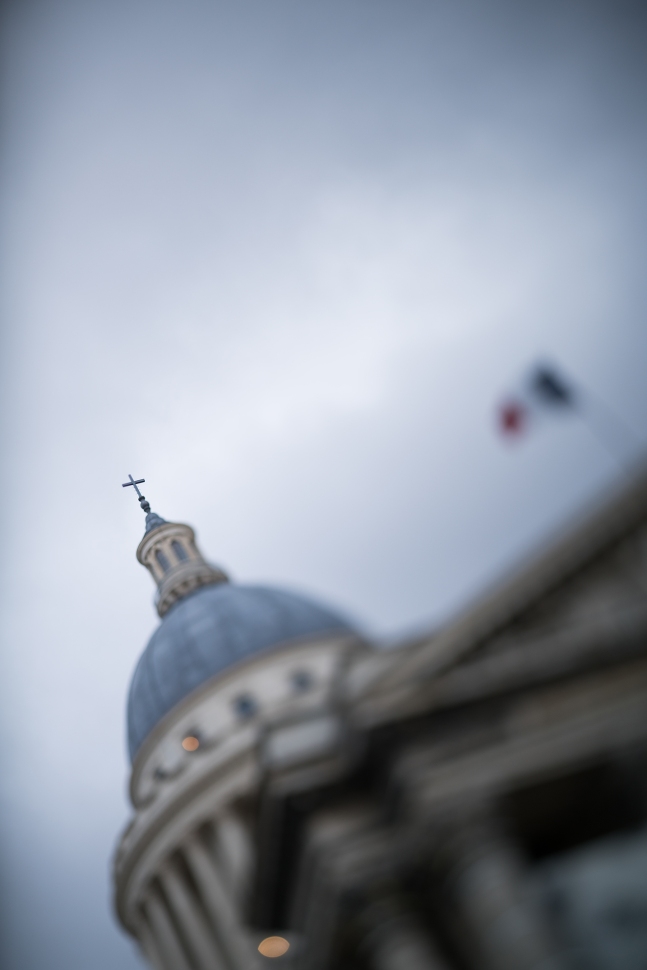
f4 DSC00858_adj copie

Pantheon, Paris. On a tripod, maximum diagonal tilt @f4. Vignetting is visible but still very manageable.  
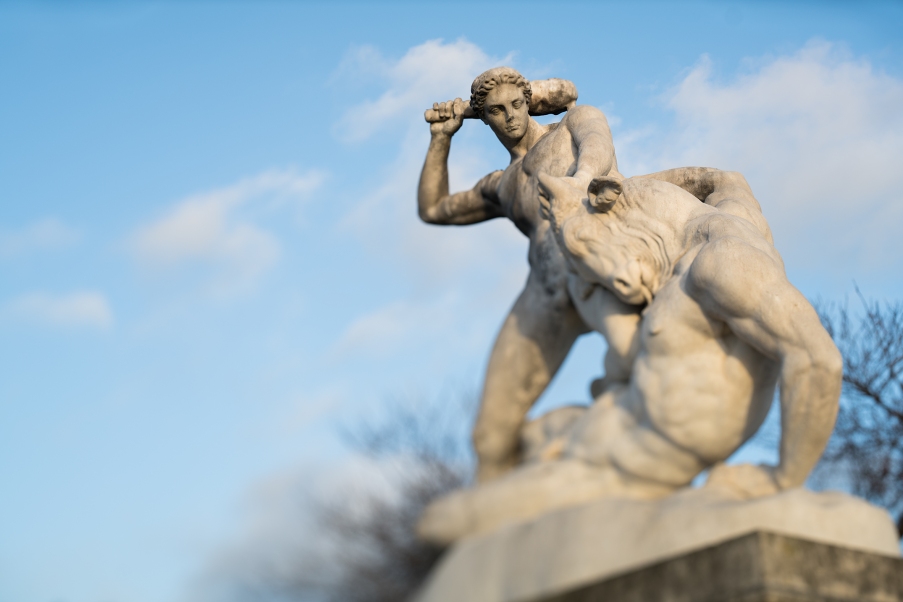
f5.6 DSC00504_adj_adj copie

  The Tuileries Garden in Paris. Handheld, maximum diagonal tilt, @f5.6.
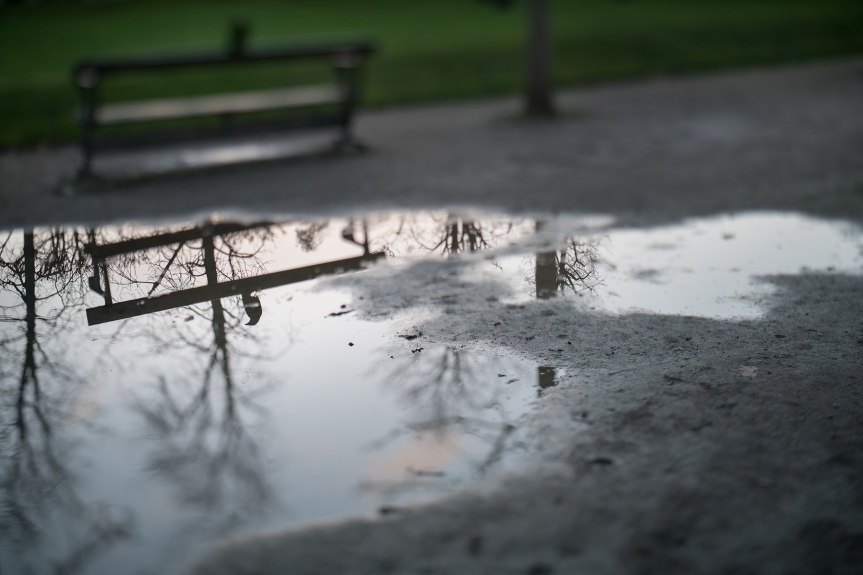
f4 DSC00544_adj copie

The Tuileries Garden in Paris. Handheld, maximum tilt down, @f4.
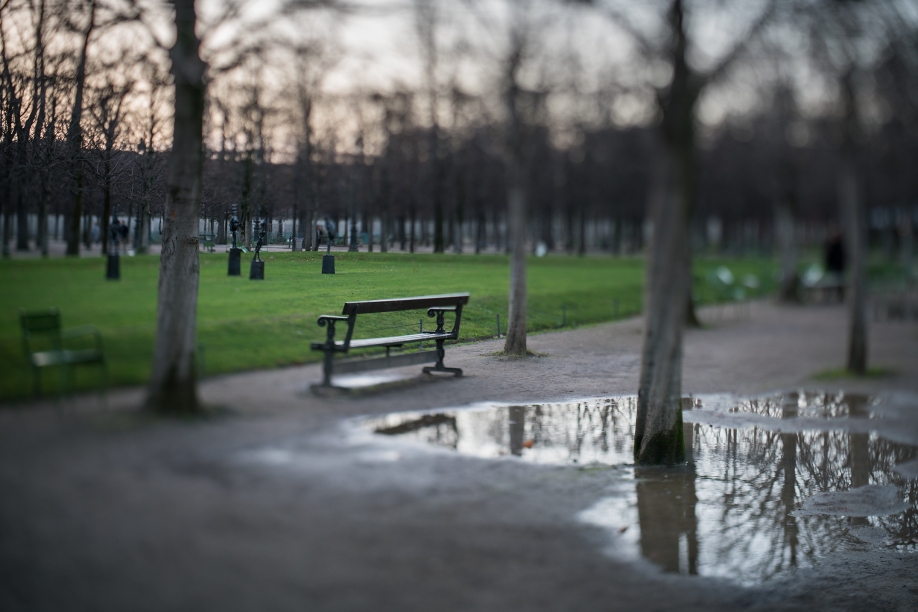
f4 DSC00541_adj copie

The Tuileries Garden in Paris. Handheld, maximum diagonal tilt, @f4.
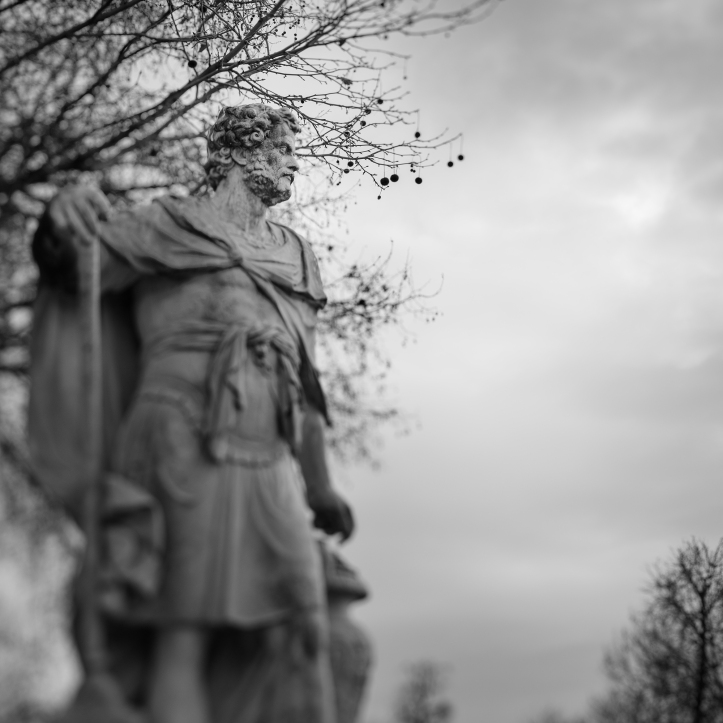
f4 DSC00426_adj_adj copie N&B copie

The Tuileries Garden in Paris. Handheld, maximum diagonal tilt, @f4.
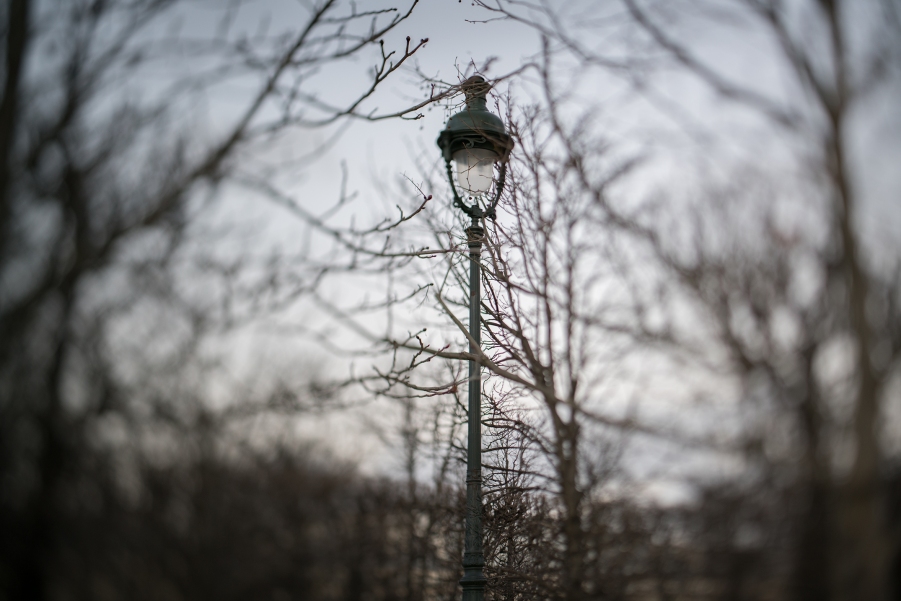
f2.8 DSC00553_adj copie

The Tuileries Garden in Paris. Handheld, maximum tilt to the right, @f2.8.
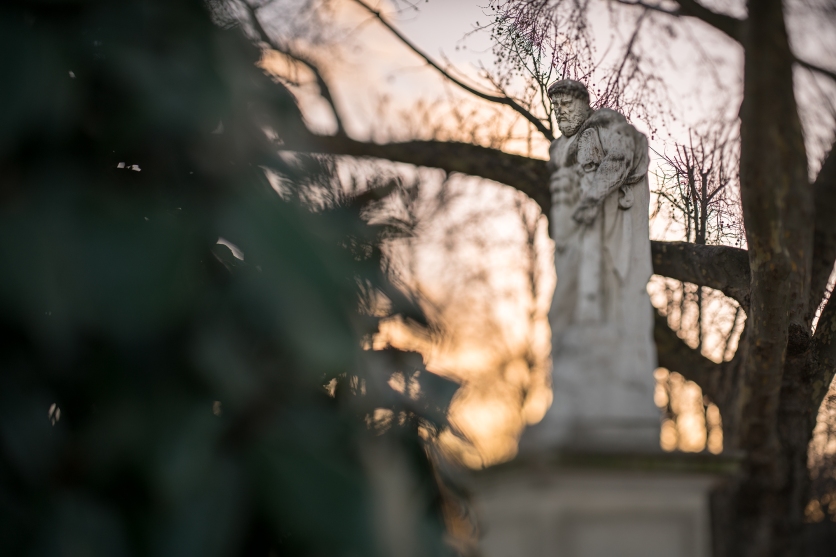
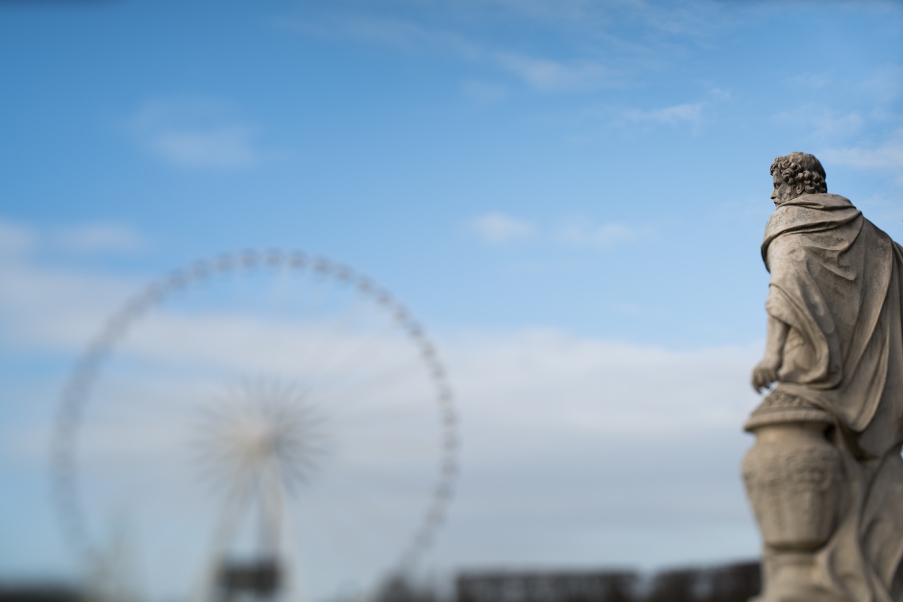
f1.4 DSC00526_adj copie The Tuileries Garden in Paris. Handheld, maximum diagonal tilt, @f1.4. 
f1.4 DSC00471_adj copie N&B copie

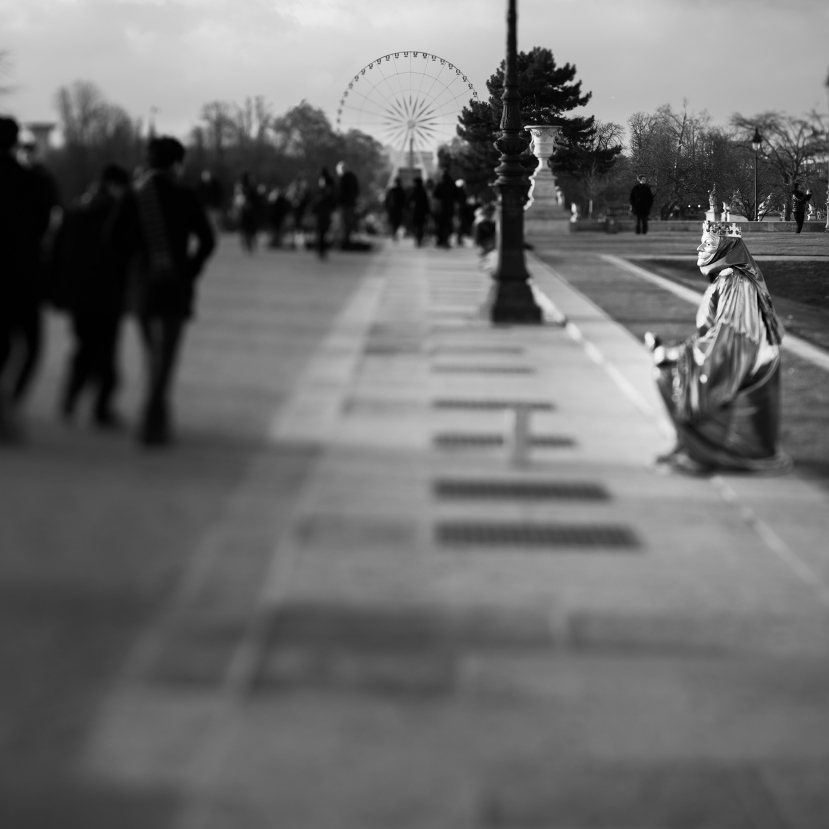
The Tuileries Garden in Paris & Concorde Square in the distance. Handheld, maximum tilt to the right, @f1.4.
DSC00471_adj copie N&B copie zoom

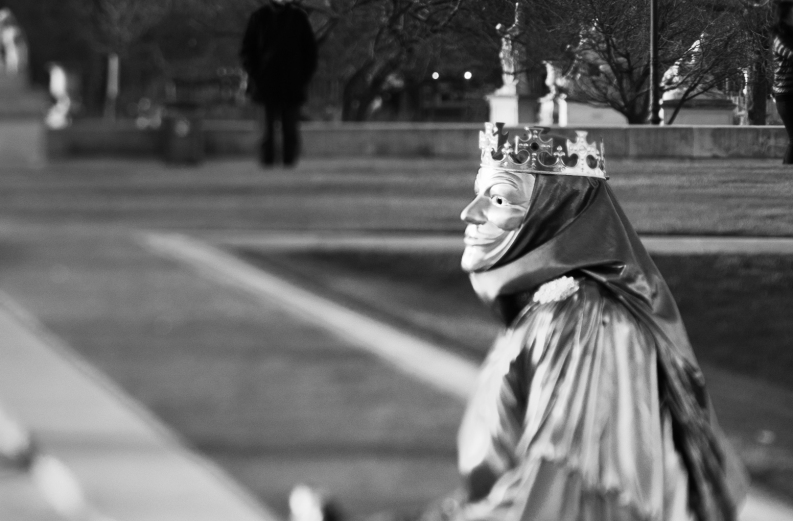
Zoom of the previous image.

f4 DSC00427_adj copie

The Tuileries Garden in Paris & Concorde Square in the distance. Handheld, maximum diagonal tilt, @f4.    
f4 DSC00461_adj copie

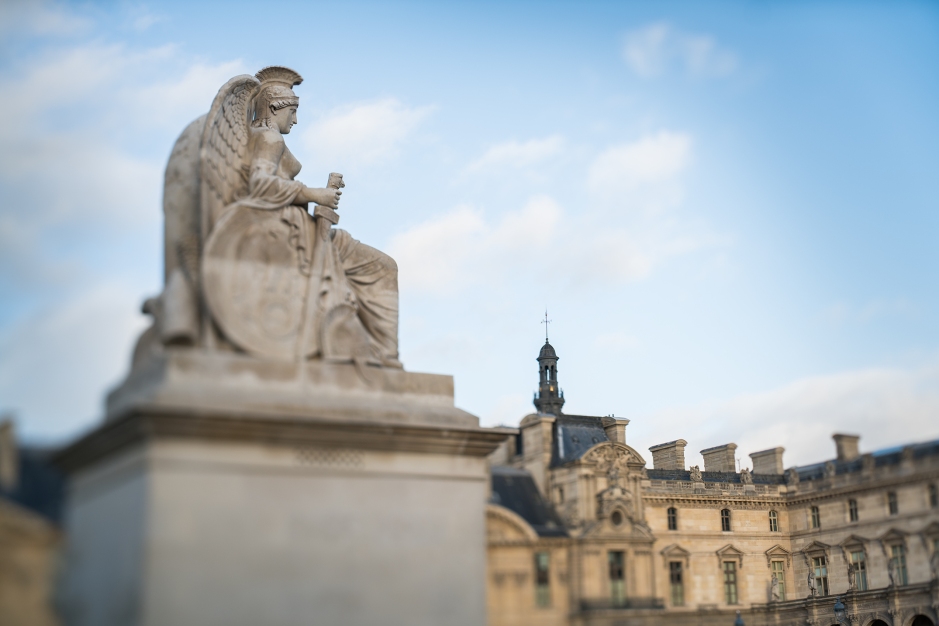
The Louvre Museum in Paris. Handheld, maximum diagonal tilt, @f5.6.
f5.6 DSC01450_adj copie

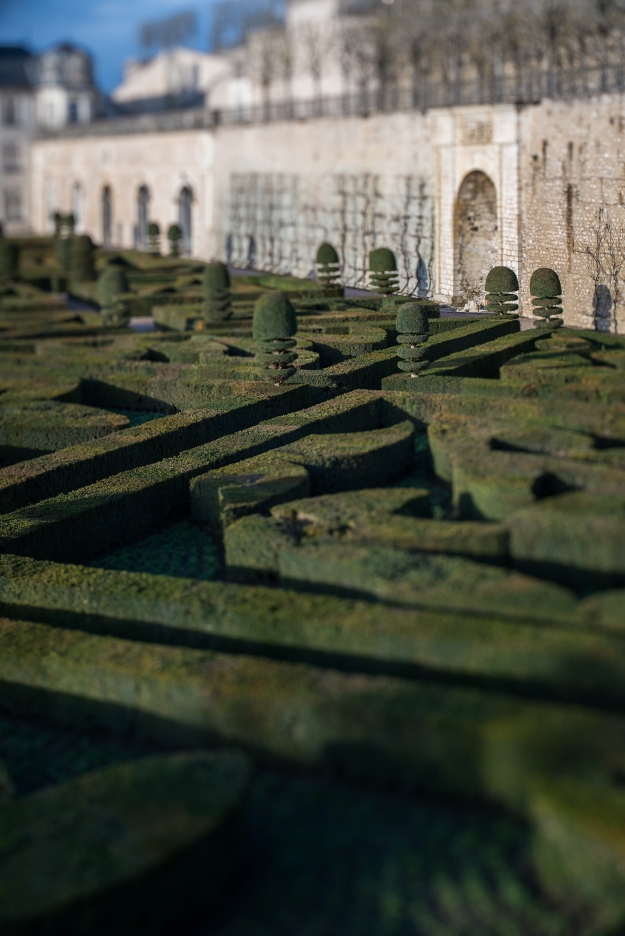
Villandry. On a tripod, maximum diagonal tilt @f5.6.
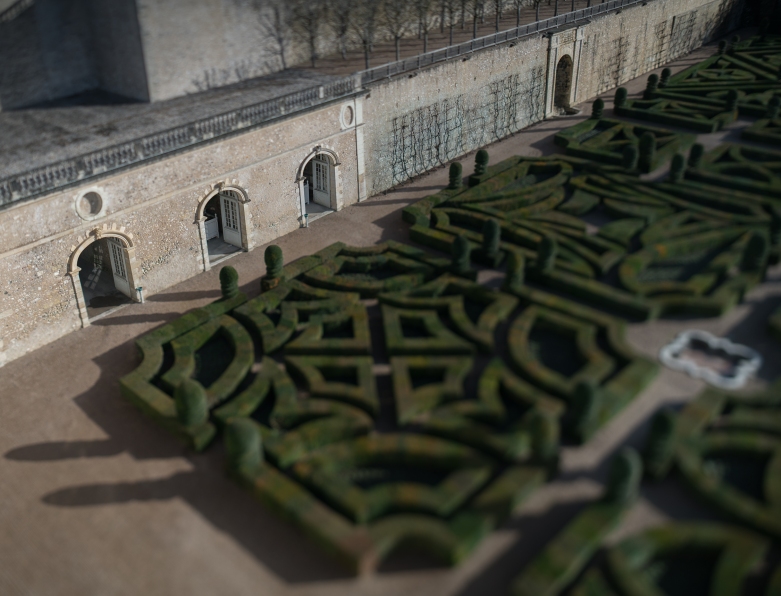
f5.6 DSC01380_adj copie2

Villandry. Handheld, maximum diagonal tilt @f5.6.
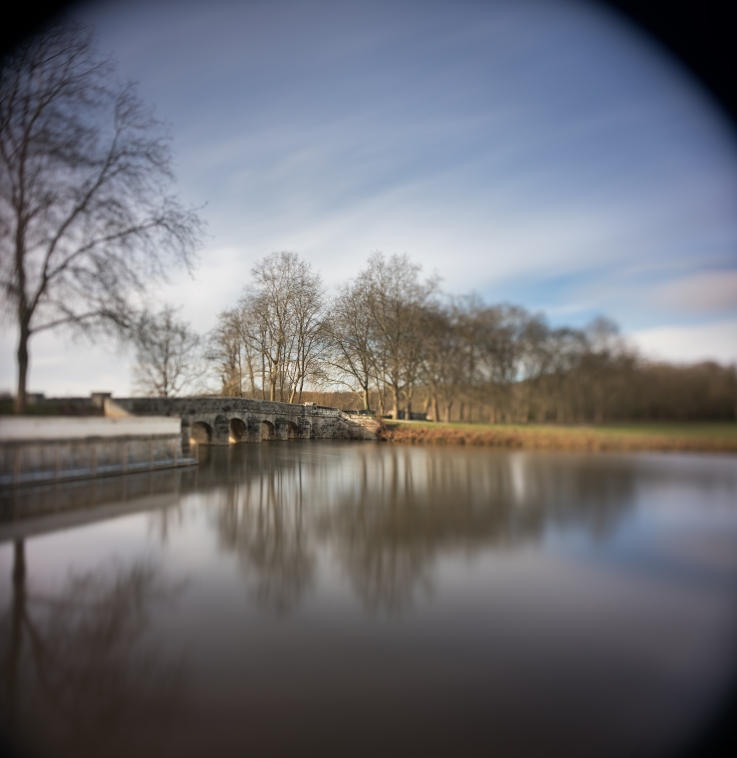
f4 LE + tilt + shift DSC01804 copie

Chambord. On a tripod, maximum tilt to the right @f4. Three images stitched in post, vertically shifted over an entire ~15mm course. Vignetting is clearly visible in the upper left, right and lower right corners.  
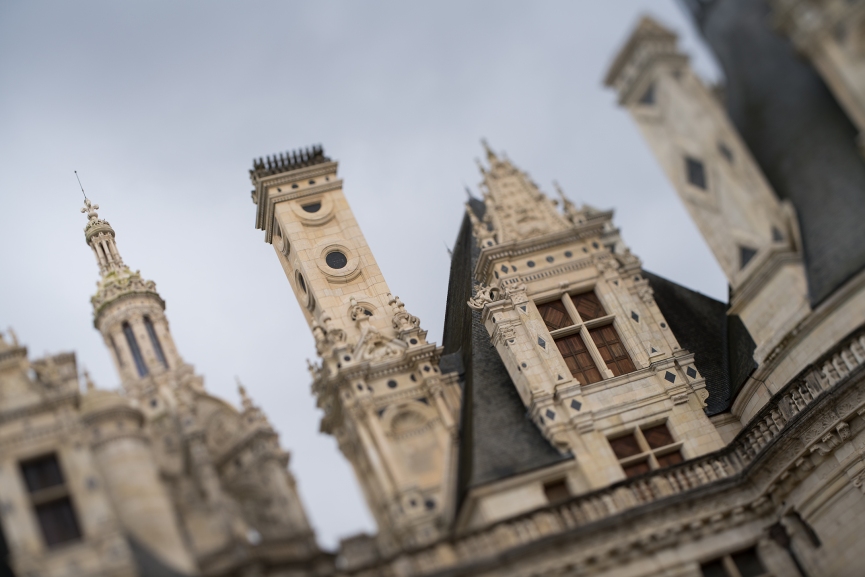
f4 DSC01232_adj copie

Chambord. Handheld, maximum diagonal tilt @f4.

  • Final thoughts:

As you probably have noticed, I’m very excited about this particular setup: either 28 or 55mm Otus lens mounted on the HCam Master TS and a Sony a7RII mirrorless camera. The Otus lenses themselves are AMAZING and top quality, very pleasant to use and optically perfect. The HCam adapter is top notch, strongly built (which is a necessity when dealing with lenses like the Otus), and very precise and easy to adjust. As you have seen, paired together, you will be able to tilt the camera 10° with almost zero vignetting, unless you add a good amount of shift with it (about 5mm each way with the 28mm or 7mm each way with the 55mm). You have probably noticed that it’s also very easy to control the width and position of the focal plane, and that if pushed to the maximum (Master TS tilted at 10° aperture set to f1.4), you can make it extremely shallow!

As a conclusion, the Otus lenses are unique, because of course of their optical quality, but also because their wide image circle make them perfect tools for fine art still photography, and not only for video. They leave you quite a lot of freedom to unleash your artistic vision. Using the ZEISS Otus lenses and the HCam Master TS adapter on my Sony a7RII is the most exciting experience I’ve had with gear and artistically speaking in a very long time.


  • Gear:

You can find any of the gear mentioned in this article through the links below:
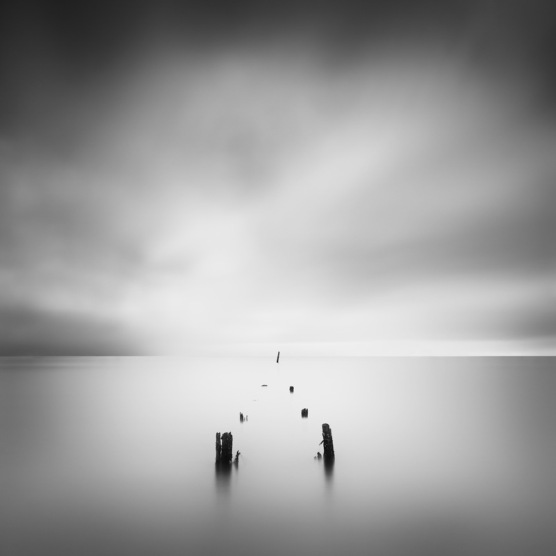
HCam Master Tilt Shift

Nikon mount 55mm f/1.4

Nikon mount 28mm f/1.4.

Sony a7RII

Sony RX100 IV

New solo show at the New England School of Photography

TR-Seven

Come join us next week for my next solo show at the New England School of Photography!
11 big prints of my most recent and best seascapes work.
I hope to see you there!!

Text of the original announcement:

NEXT at the The Garner Center for Photographic Exhibitions: Aquae: Photographs by Thibault Roland Fine Art Photography. Aquae is a series of landscape images that explores the serene and formal nature of water in a most alluring and minimal fashion.

Opening Reception: Thursday, Nov. 19, 5:30pm – 7pm
Show Runs: Nov. 16 – Dec. 18, 2015

Fine Art prints available at Bert and None Gallery

TR-Bug LightI’m stocked to announce that some of my work has been selected to be part of the Bert And Nōne Gallery.
It is curated by Ron Cowie and offers only the best of fine art photography.
Check it out! You’ll find amazing art by Cranson Weber Shelley, Lisa Garner, and Ron Cowie.

The best part? Ron is looking for more talents to add to the site. So if you think your work fits, get in touch with him!!
Now, who’s in for acquiring some amazing art and/or contributing??

TR-Nubble LightTR-Bar Harbor

Fringing removal – Processing Private Mentoring

Being a fine art photographer (and a scientist) means that you have a high attention to details. Sometimes it’s a gift, sometimes it’s a curse. But it’s mostly a gift 🙂
It’s almost like having OCD for me at times, and it sure does feel like it when I process my images to allow extremely large printing.

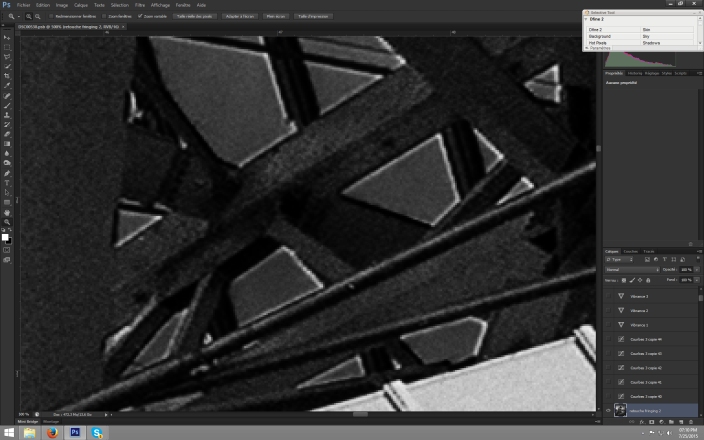
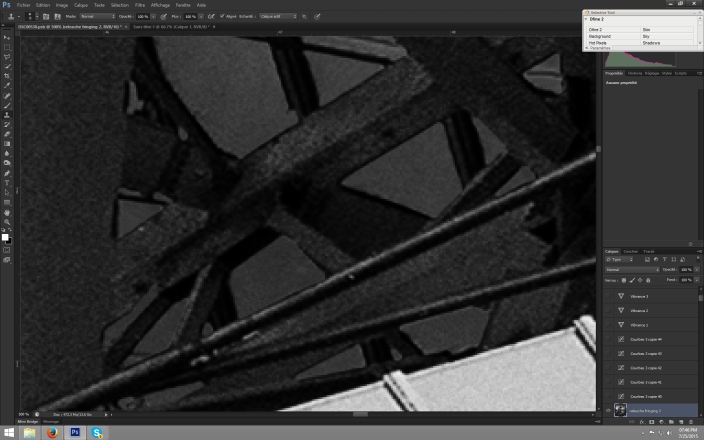
This is what makes the difference between an average photograph and a hit! Here you see the image before and after removing fringes (respectively), zoomed in at 500% :

Sans titre-1 copie

Sans titre-2 copie
If you want to learn how to process images that will WOW people, send me a message and we’ll organize private mentoring sessions.

Testing the Sony FE PZ 28-135mm f/4 G OSS for long exposure photography

IMG_20150417_145332I was very fortunate to get my hands on a Sony FE PZ 28-135mm f/4 G OSS and could not help but test it for long exposure.

You will see below some straight out of camera shots, as two new images that I was able to process. This is not meant to be a full review of the lens, more of a road test to see how well it works for long exposure photography.

General Comments: First of all, let me say that the lens is HUGE! It takes 95mm diameter filters, and feels very sturdy and smooth when using it. It also has a nice foot to mount it directly on a tripod head, which is a nice addition. I never used it though, because my setup was steady enough that I was not bothered by vibrations, however big the lens is.

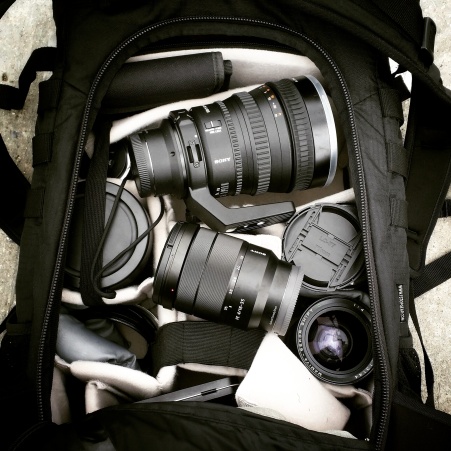
A quick snapshot of my bag with the lens inside, together with the very nice 16-35 f/4:

IMG_20150417_124539

One tip for doing long exposure: no matter the camera or lens, I ALWAYS wrap my setup with a cloth to avoid light leakage from the sides of the mount or lens. I used this lens in the same way, and you’ll see below that I had no diffraction issue: mission accomplished 🙂


IMG_20150412_165545

Un-processed images: Now let’s look at a few “almost SOOC” images: (almost because some have been stitched)

DSC01342_adj copieEXIF: 28-135mm @28mm, f/8, ~8 minutes, ISO 50, ND16 Firecrest filter

Panorama sans titre2 copieEXIF: 2 images after stitching, 28-135mm @45mm, f/8, ~4 minutes each image, ISO 50, ND16 Firecrest filter
DSC01425 copieEXIF: 3 images after stitching, 28-135mm @72mm, f/8, ~3 minutes each image, ISO 100, ND16 Firecrest filter
 Pretty good, right? 🙂

Final images: Now let’s see a couple images after processing:

DSC01425 copie_resizeEXIF: 3 images after stitching, 28-135mm @72mm, f/8, ~3 minutes each image, ISO 100, ND16 Firecrest filter
DSC01509 copie_resize EXIF: 3 images after stitching, 28-135mm @80mm, f/8, ~3 minutes each image, ISO 100, ND16 Firecrest filter
 

Conclusion: I have made up my mind. Even if the lens is mostly made for video, it’s an amazing piece of hardware, including for long exposure. The constant f/4 aperture is also a great treat. I am going to make this lens a permanent addition to my gear!

As usual, don’t hesitate to comment or ask questions below or in PM.

Preparation of my upcoming exhibitions in Paris

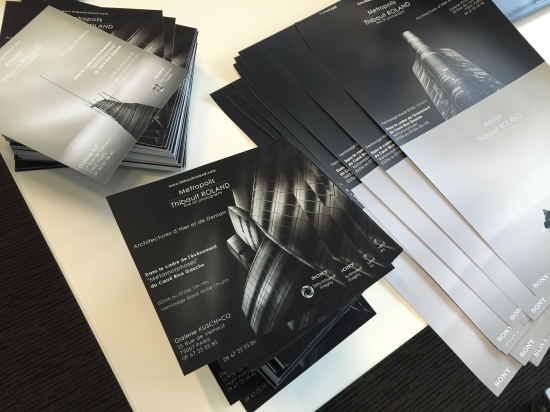
IMG_1754I’ve been lately hard at work preparing the two exhibitions that will take place in Paris next week.

I feel very fortunate to have the help and support of many people for these two HUGE events. To name but a few, Sony US and Sony France (in particular, Kayla, Astrid and Romain) have helped a great deal with the marketing materials, press releases and more. Chritophe Marlot and José Alcantara were of course instrumental in letting me show my work in their galleries, thnak you both! And Christine and Philippe for their incredible help and support in way too many ways to describe here.IMG_1755

You will find higher two photographs of the flyers and posters that Sony France printed. These will be sent to their partner pro photography stores in Paris. don’t they look great!? 🙂

Please click the following link to access Sony France Press Release (in French): Press Release Sony France.

Details of the show on the flyers and in the text below:

Kusch+CO

25 rue de Verneuil

75007 Paris

France Thibault-ROLAND-flyer-US-KuschBJF

27 rue de Verneuil

75007 Paris

France

Thibault-ROLAND-flyer-US-BJF

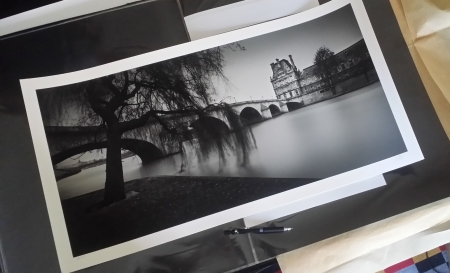
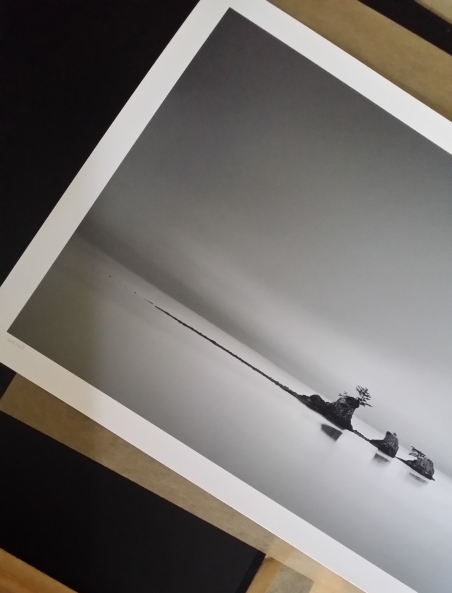
Below are some of the photographs I will show next week right after signing and numbering them (they are all of course limited editions):
18594_1602552453348086_4490956993676541288_n 11350838_1602552910014707_4146764417238019095_n 20150502_121127 20150502_122451 20150502_12211520150502_121127 20150502_125413

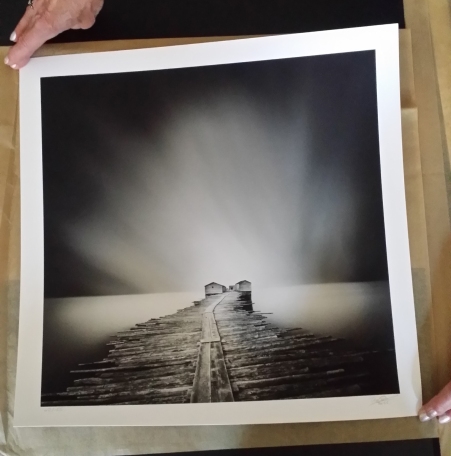
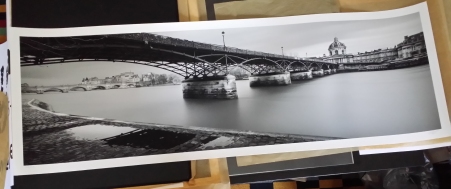
And these two are the largest prints I have ever had printed to date: ~50×150 cm! (~20×60″!)
 

20150502_124403

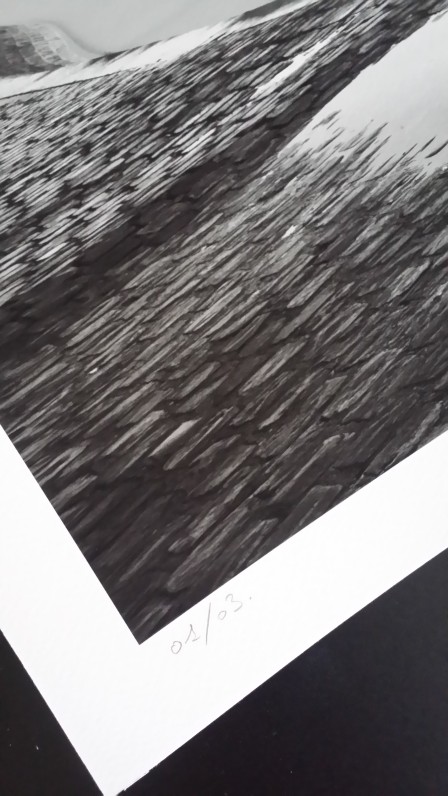
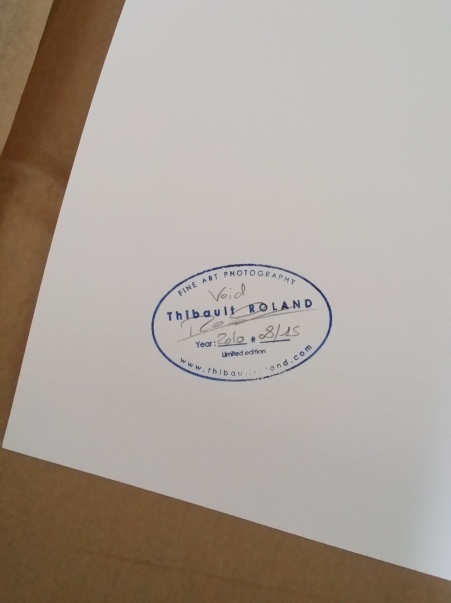
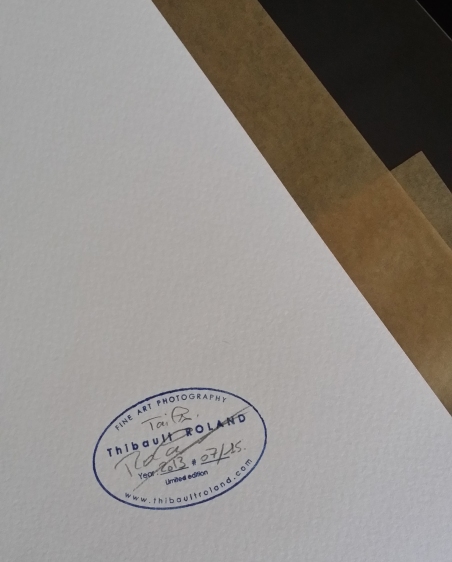
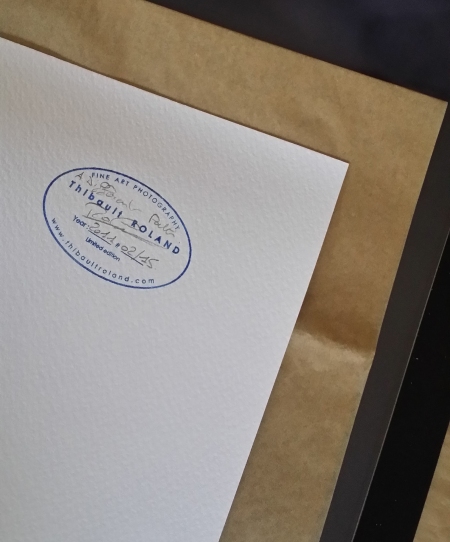
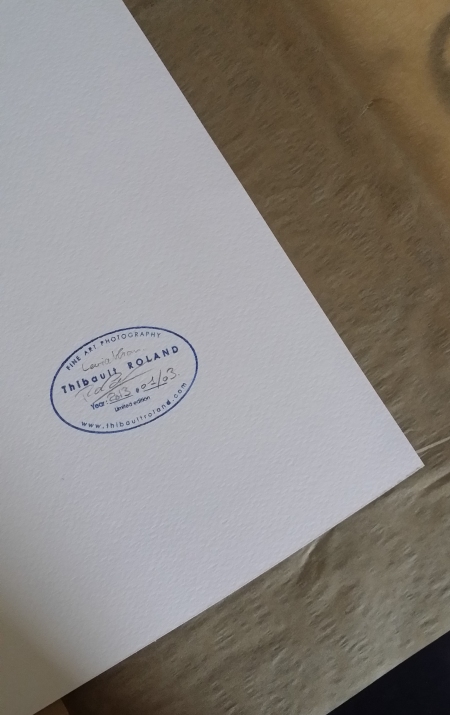
20150502_123758 20150502_123831 For those of you who wonder how my limited editions are, I sign and number them on the front side (see higher) and use a seal on each one of them, and add my signature, number in the series and the title on the back, see below:
20150502_121037 20150502_121748 20150502_122056 20150502_124316

Building a technical camera – Part IV

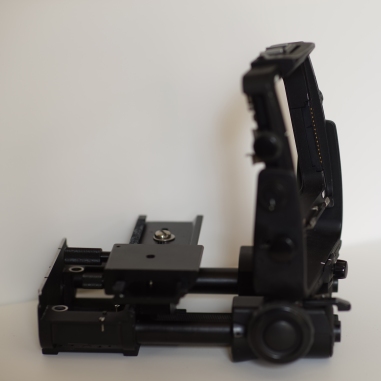
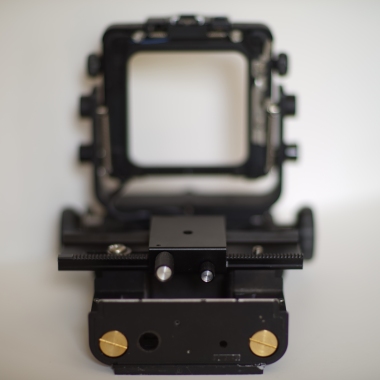
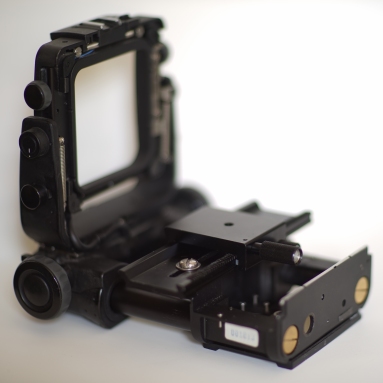
20150322_130154Step Four of Building a technical camera: adding left/right shifting to the back element

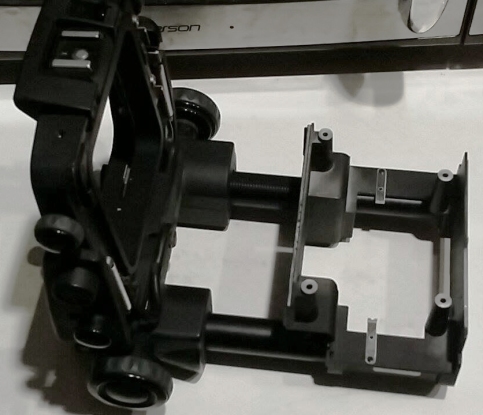
Last time, I showed you the results of milling out a chunk of the back element of the Fuji camera. Today, I’ll show you why I did it, and how to mount different parts together and insure they are perfectly parallel or perpendicular to each other.

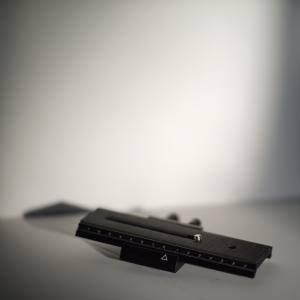
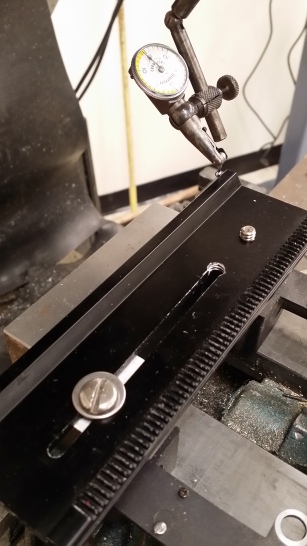
For that particular step, I bought a cheap Chinese precision rail system on eBay. For $8 USD, it’s hard to get a better system that can be modified, drilled, cut or tapped. The following picture shows you exactly what this part looks like before modifying and mounting on the camera.

DSC01151First step was to take apart the rail itself (with the screw sticking out of the slot), from the support piece that is originally meant to attach on the tripod head. In the final design, the parts will be flipped: the rail will become the support (attached to the camera, see below) and the other part with the precise movement knob and the stopper. The latter part will be modified so I can attach a support plate for the camera.20150404_192705

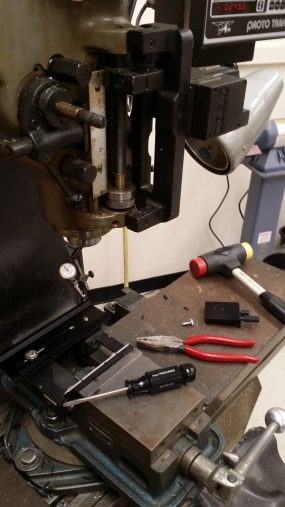
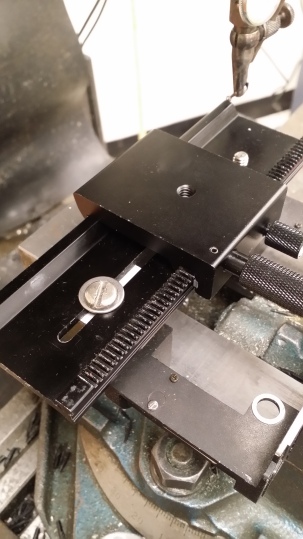
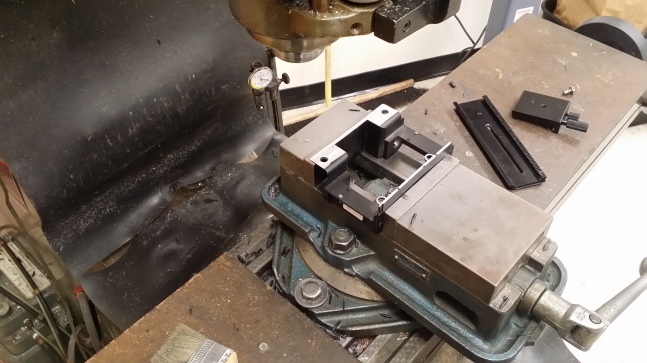
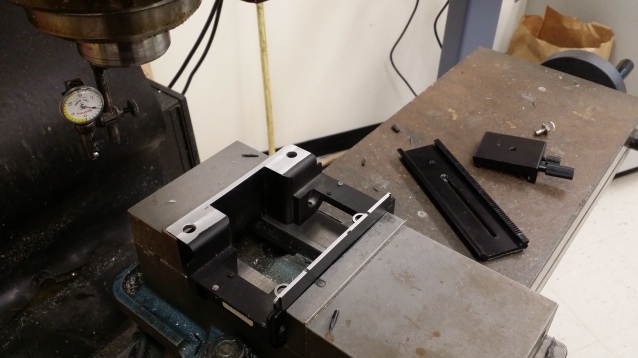
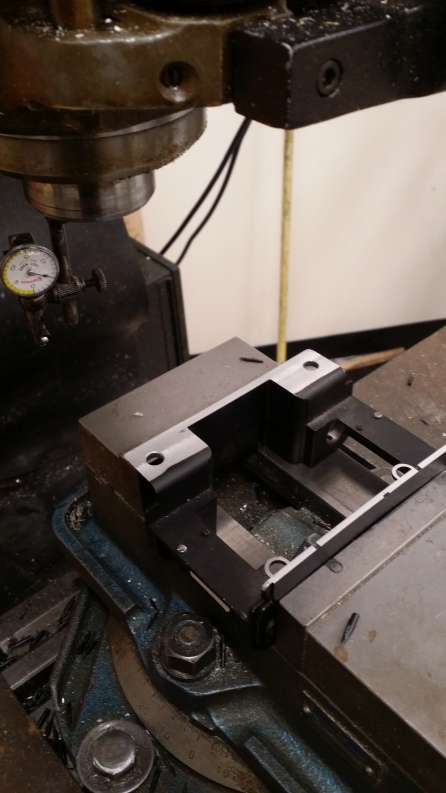
You will find below a few pictures that I shot while adjusting the rail to the camera so that these two part are perfectly perpendicular to each other. This step is very delicate, because the slightest misalignment between them will lead to the sensor plane not being perpendicular to the lenses, effectively creating unwanted tilt. 20150404_192717

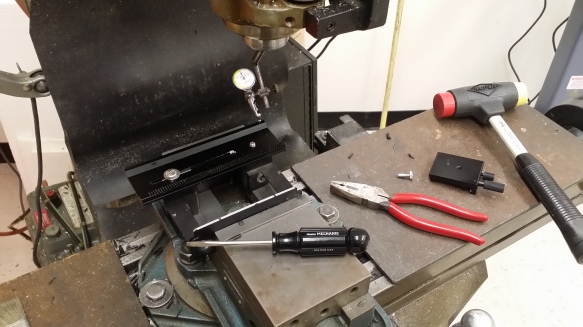
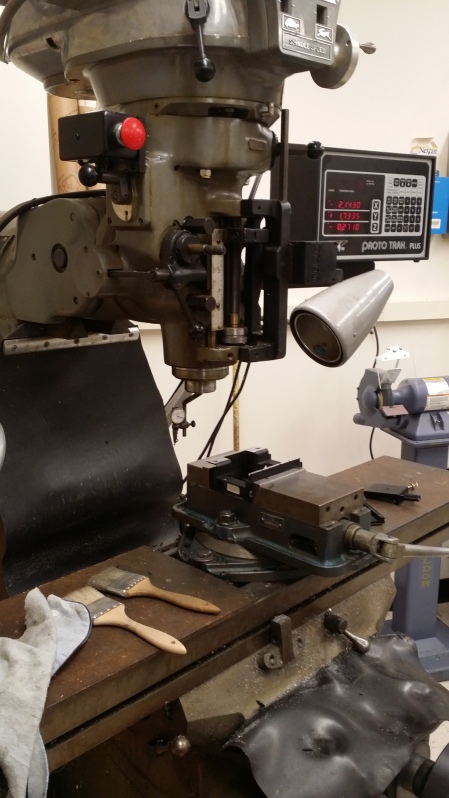
To make sure the parts were perpendicular, I used the precision of the milling machine and an indicator, see below:

20150404_192732

Just so you have a better sense of what things will look like eventually, here is a photograph of the back element with the inverted support part that I’ll drill and tap in order to mound the camera standard:20150404_193117No a few photographs of the camera with the rail system, where you can see how left/right shift will work:

DSC01173 DSC01171 DSC01164 DSC01160 Next step:

Drill the rear standard support (part with the two knobs in the pictures higher).

Conclusions:

1/ this was one of the most delicate but easiest steps so far. Easiest when you have the right tools, but these are hard to come by and even harder to let a machinist let you use his toys 🙂

2/ I found a solution to add rear swing (left/right tilt) by ordering a precise optical rotating stage for about $80 USD from China. I’ll give you the details in a later post if you are interested (please use the comment below if so). I’ll first work on a prototype that won’t have swing, see how it goes and then add the rotating stage.

Joint exhibits in Paris at Kusch+CO and BJF Galleries June 2015.

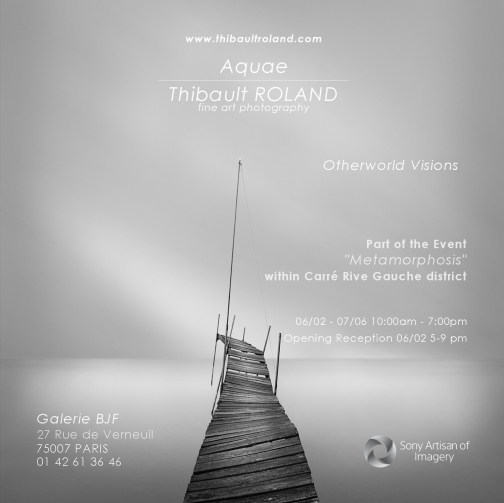
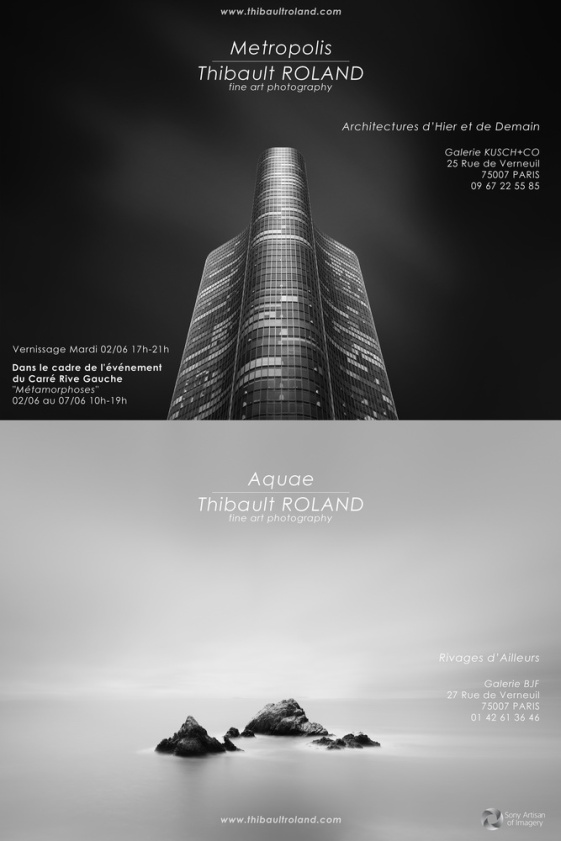
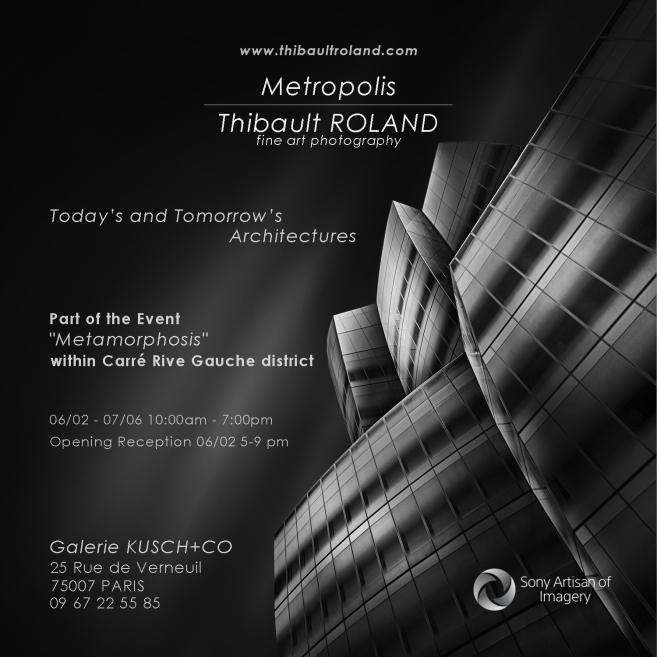
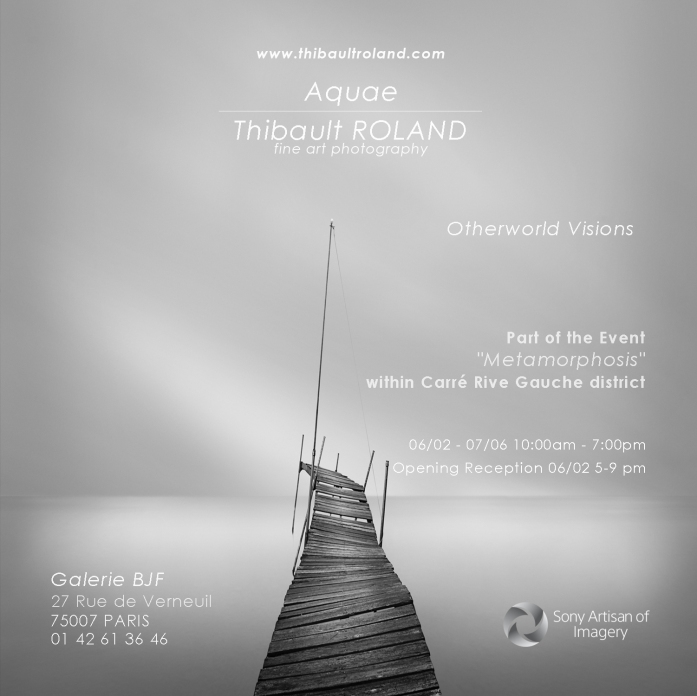
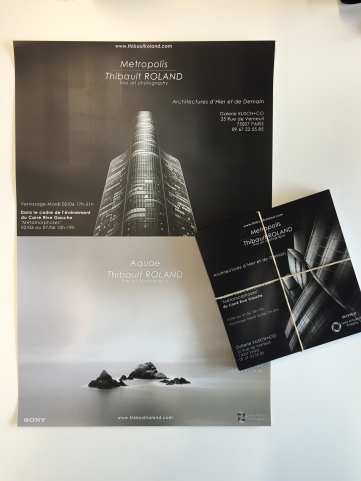
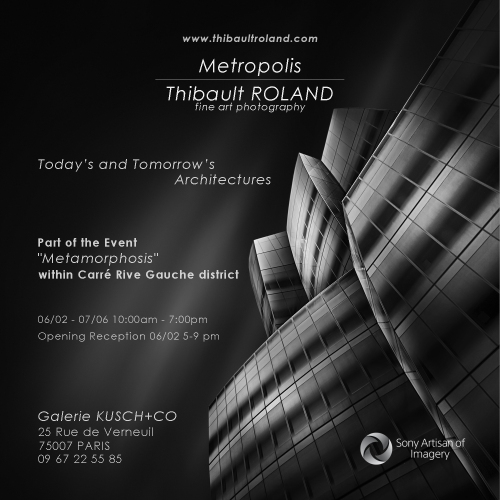
Thibault-ROLAND-poster_resizeI am very happy to announce that I will show photographs in two galleries in Paris (France) for joint solo shows in June, supported by Sony USA and Sony France. Both galleries are located in the prestigious Distric “Carré Rive Gauche” located near the Assemblée Nationale. The exhibits are part of the annual district event “Metamorphosis“.

Each will present two aspects of my work: architectural and seascape photography for Kusch+CO and BJF galleries, respectively.

The opening ceremony will be at Kusch+CO Tuesday June 2nd 5pm-9pm.

For more details, please see below and flyers.

Kusch+CO

25 rue de Verneuil

75007 Paris

France

Thibault-ROLAND-flyer-US-Kusch

BJF

27 rue de Verneuil

75007 Paris

France

Thibault-ROLAND-flyer-US-BJF

Building a technical camera – Part III

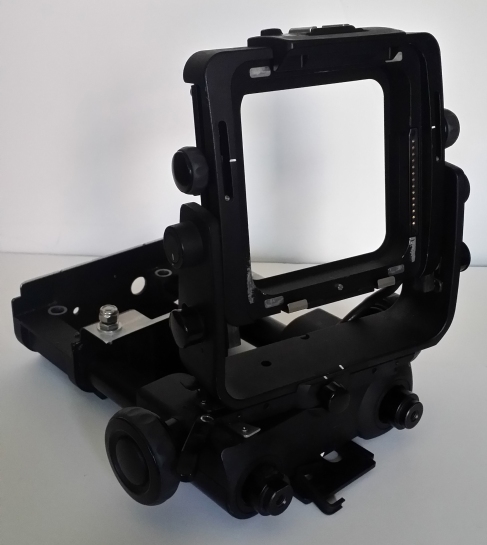
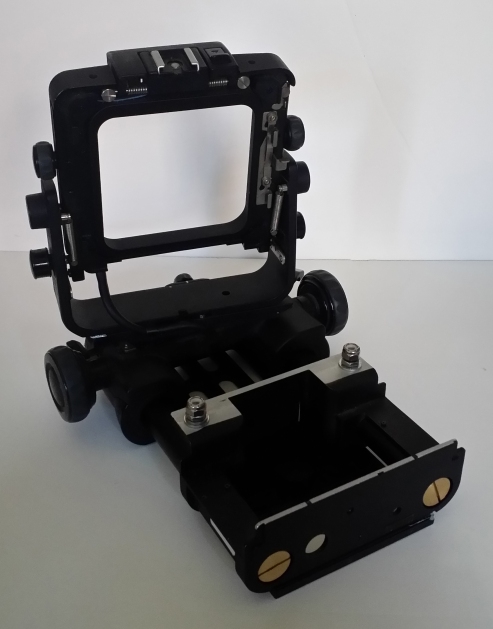
20150404_183123Step Three of Building a technical camera: milling out part of the back element

Good news! I was able to modify the back element of the Fuji GX camera that I took apart some time ago (see here for details about taking this guy apart).

Did I mention this project is VERY exciting? Yes? Well, I’m even more excited, and using power tools is something I really enjoy.

And so I was really happy to use a milling machine (see picture higher; big fancy machine) in order to remove parts of the back element of the camera in order to make a nice platform I will use to fix a rail for left/right (pano) movement.

ATTENTION: I would like to stress out that you should not use power tools and machine aluminum (or any other material for that matter) yourself if you do not know how to use such tools. They are extremely dangerous if not used properly, and they can injure badly, or worse… So please be careful, and let the “pros” handle them 🙂

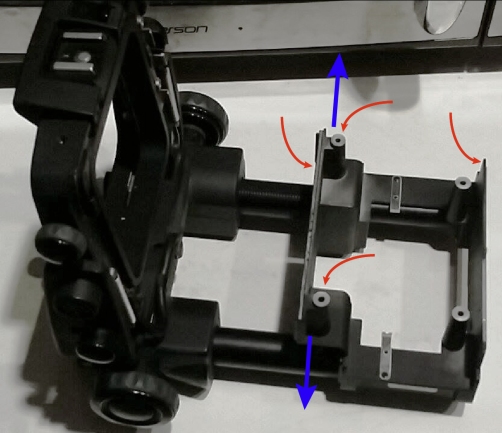
As a reminder, you’ll find below the picture of the camera “skeleton” showing with red arrows the parts of the back element that need to be removed (milled):

Sans titre-1 copie

You will see in the next few photographs the part after milling. For those who are not familiar with machining, you can see where I removed metal because it looks all shiny / silver. As I mentioned before, I had to remove the posts for the screws entirely, as well as some of the front and back vertical stands to make a nice leveled platform.

Let me point out that the level must be as close to perfection as possible, if one want to ensure movement in the horizontal plane rather than having a left/right shifted image that will be higher or lower than the previously shot image.

20150404_183158 20150404_183140 20150404_183130Let’s do a comparison of before and after milling:

11046131_10153153202593485_1501836423_o20150322_130154 20150322_130218Next step:

Fix the rail system where you can see the nuts in the last two pictures. This rail will be used in order to shift the camera left and right in order to make panoramas. This is another very delicate step, as the rail needs to be perfectly parallel to the stands of the back element (that is perfectly perpendicular to the optical axis), unless it will introduce a change in the position of the sensor plane while shifting, therefore leading to unwanted blur in the final image.

Conclusions:

1/ I had lots of fun milling the back part of the Fuji camera. Making chips and machining using tools like a milling machine is incredibly fun, but you have to be very careful and need to know what you’re doing, so PLEASE don’t do it yourself if you have not been taught how to.

2/ Now that’s it, even if I wanted to go back and put the camera in it’s original state I could not. I am not overly concerned the project won’t work, but when you take one like this you have to keep in your mind you may waste a lot of money and time. But it’s a risk I’m willing to take because it’s fun, and also because the goals are well worth the risks 😉

3/ You have to plan well in advance about the next steps you’ll take, if only because you have to order parts which may come from China and take time to get there. I have to admit I am better advanced than I’m showing right now, and things are looking good for now.

New Publication: Landscape Photography Magazine (UK)

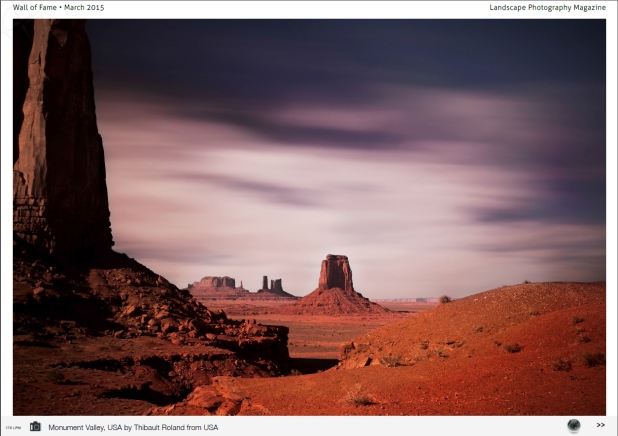
landscape-pageI was glad to learn recently that one of my only color photographs is published in the great UK Landscape Photography Magazine, issue 49.
It’s a picture I shot in Monument Valley in the USA. Truly one of my fondest memories of my first (and longest) road trip in the USA: about a month, and 20 000 km. Epic! 😉

Have you ever done such a road trip? If so, I’d be curious to hear about the little gems you found on the road. Did you find not-so-famous locations you’d recommend others to visit? Please share them in the comments below if you do!landscape-cover